Making high-quality home videos is now easier than ever thanks to technological advances and readily available video editing tools.
Whether you’re using a smartphone or a digital camera, you can produce videos that stand out and captivate your audience. This article offers expert tips on how to create impressive home videos that you’ll be excited to share.
Experience seamless video editing with Movavi Video Editor:
- Effortlessly trim, cut, crop, and rotate your videos.
- Add engaging titles, stickers, and smooth transitions.
- Apply captivating visual effects for a polished look.
Get Movavi Video Editor now at an unbeatable price!
Enjoy a whopping 40% discount on this powerful video editing software.
In this article:
- Key Equipment and Setup Considerations
- 1. Opt for Rear-Facing Cameras
- 2. If you have a camera, make use of it
- 3. Embrace Varied Angles
- 4. Opt for recording in landscape mode for your videos
- 5. Incorporate a grid when shooting to improve your composition
- 6. Harness Multiple Light Sources
- 7. Embrace Varied Angles
- 8. Zoom Strategically
- 9. Leverage Onboard Effects
- 10. Create Variety with Alternate Shots
- Simplifying Video Editing
- Essential Video Editing Features You Shouldn’t Miss
- Managing and Storing Video Content
- Closing Remarks: Recognizing the Significance of Editing
Key Equipment and Setup Considerations
1. Opt for Rear-Facing Cameras
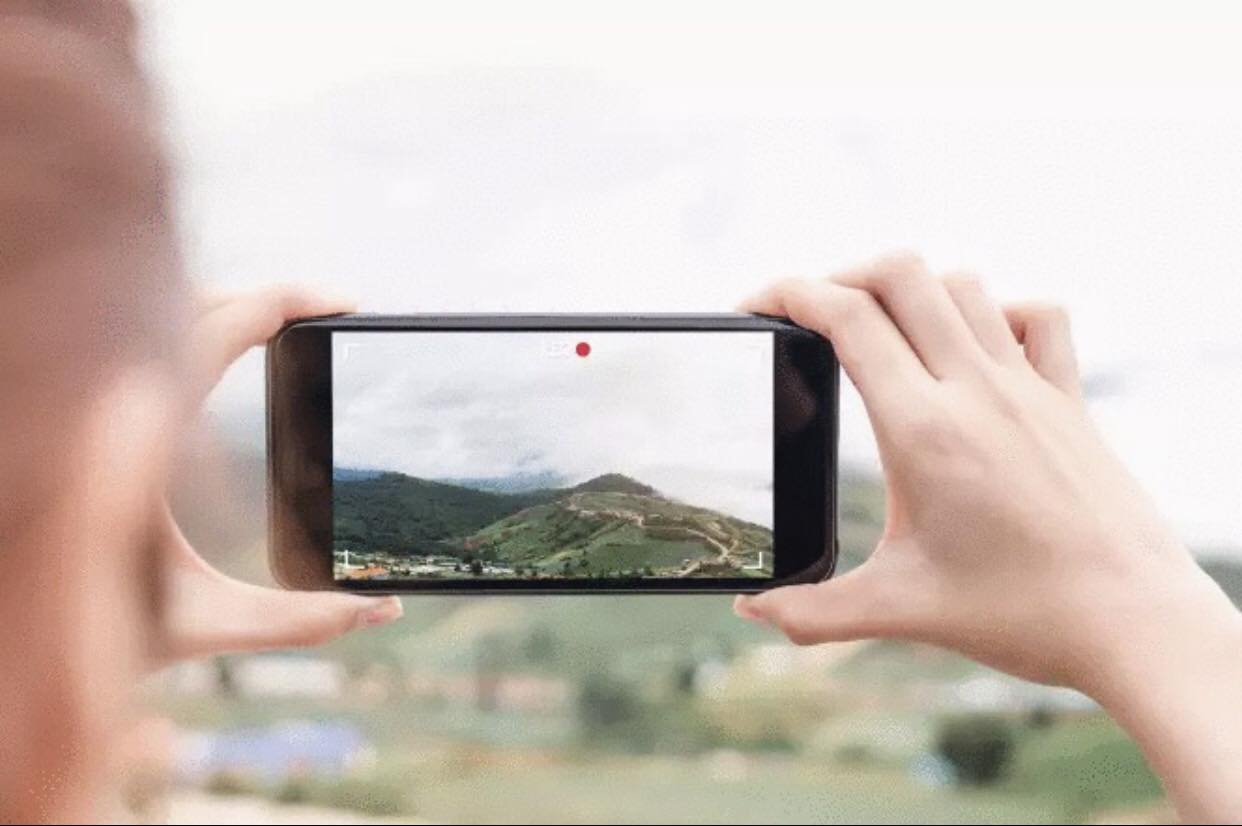
When using your phone’s camera, it’s best to use the back camera rather than the front-facing one. While the front camera is great for selfies, the rear camera records at a higher resolution, lending a more professional appearance to your videos from the start. Moreover, using the flash feature becomes tricky with the front camera.
2. If you have a camera, make use of it
If you have access to a dedicated camera, try using it for your home recordings. Despite the advancements in phone cameras, digital cameras or camcorders still outperform them. If you have the funds, investing in a high-quality camera can dramatically improve your home movie-making experience. When buying for a camera to capture professional-level home videos, consider the features you’ll use the most. These include resolution options (such as 1080p, 4K, and so on), the availability of special effects, regularly used camera settings, and so on.
3. Embrace Varied Angles
While shaky-cam effects can work in certain contexts, for most home movies, smooth and focused shots are preferred. Enhance stability for static shots by using a tripod or creating a makeshift rig to hold your camera or phone. If camera movement is needed, modern video editing tools can correct shaky shots effectively.
4. Opt for recording in landscape mode for your videos
While vertical video is popular on social platforms like Instagram and TikTok, it’s best to avoid it for creating your own videos. Landscape mode ensures your videos fit conventional screens properly and can be easily adapted to various aspect ratios for different platforms. Recording in portrait mode results in an incorrect aspect ratio that doesn’t align well with TVs or popular video-sharing platforms. Opting for landscape mode ensures that your video fits seamlessly on TV and computer screens, and it can easily be adapted to various aspect ratios commonly used in film and video production.
5. Incorporate a grid when shooting to improve your composition
The rule of thirds is a valuable guideline used by filmmakers and photographers. This technique involves dividing your frame into three sections both horizontally and vertically, with key focal points positioned at the intersections. Utilizing the grid function on your camera aids in aligning your shots more effectively.
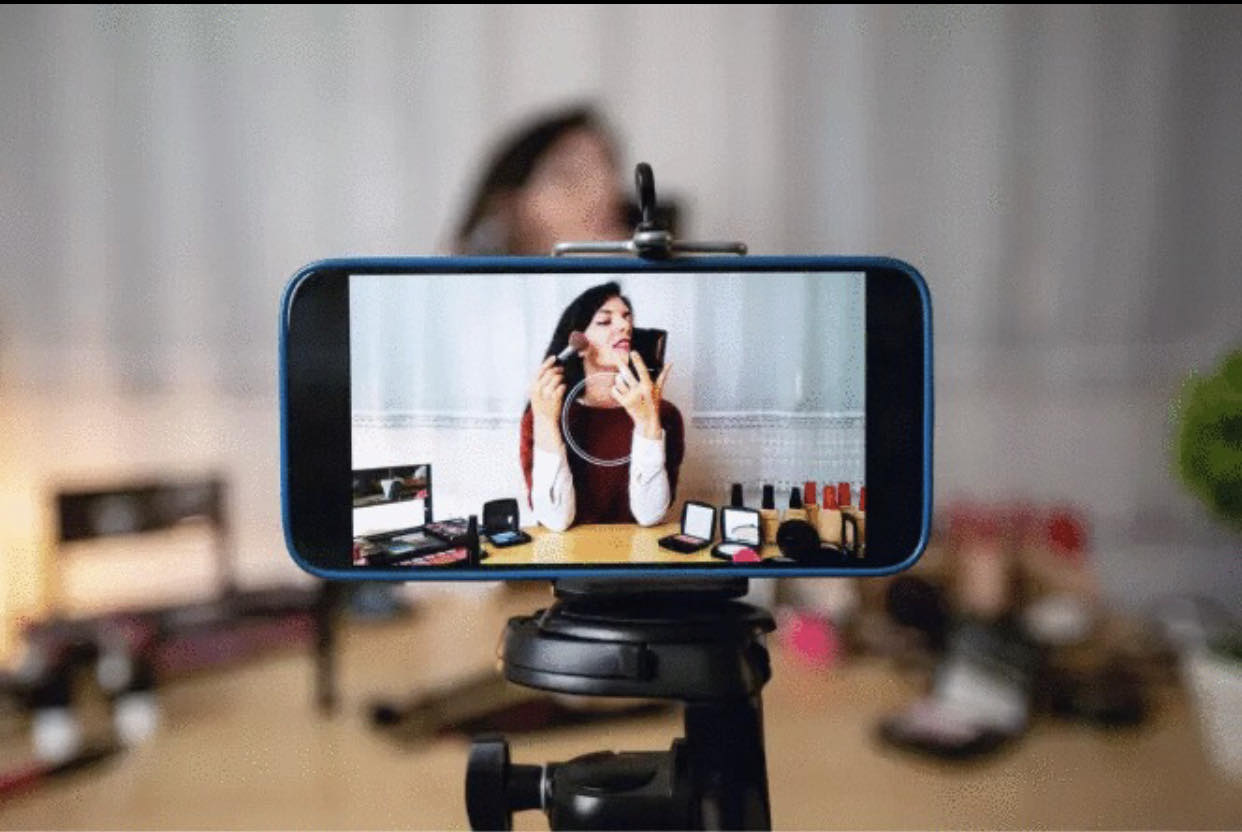
6. Harness Multiple Light Sources
Crafting visually appealing shots involves mastering lighting. Capitalize on optimal outdoor lighting during the first hours after sunrise or before sunset. For indoor scenes, introduce lighting from different angles to create depth. Reflectors or light reflector sets can help achieve a balanced lighting effect.
7. Embrace Varied Angles
Enhance the visual interest of your videos by experimenting with diverse shooting angles. Instead of just head-on shots, try angles from the side or at 45 degrees. This adds dynamism to your scenes and provides editing versatility.
8. Zoom Strategically
Employing zooming techniques can add dramatic or comedic flair to a scene. However, relying on the built-in zoom feature of your phone or camera can negatively impact image quality and resolution. Instead, opt for a more controlled approach by physically moving closer to your subject. Gradually walking towards the subject while keeping the camera steady minimizes any unwanted shaking. Although perfection isn’t essential during filming, any minor shake can be corrected during the editing phase using suitable editing software.
9. Leverage Onboard Effects
While post-production editing is valuable, aim to capture scenes as close to perfection as possible during filming. Utilize your camera’s built-in effects for creative shots. Experiment with options like time-lapse for fast-paced montages and slow-motion for added drama. Test different effects during shooting to enhance your footage.
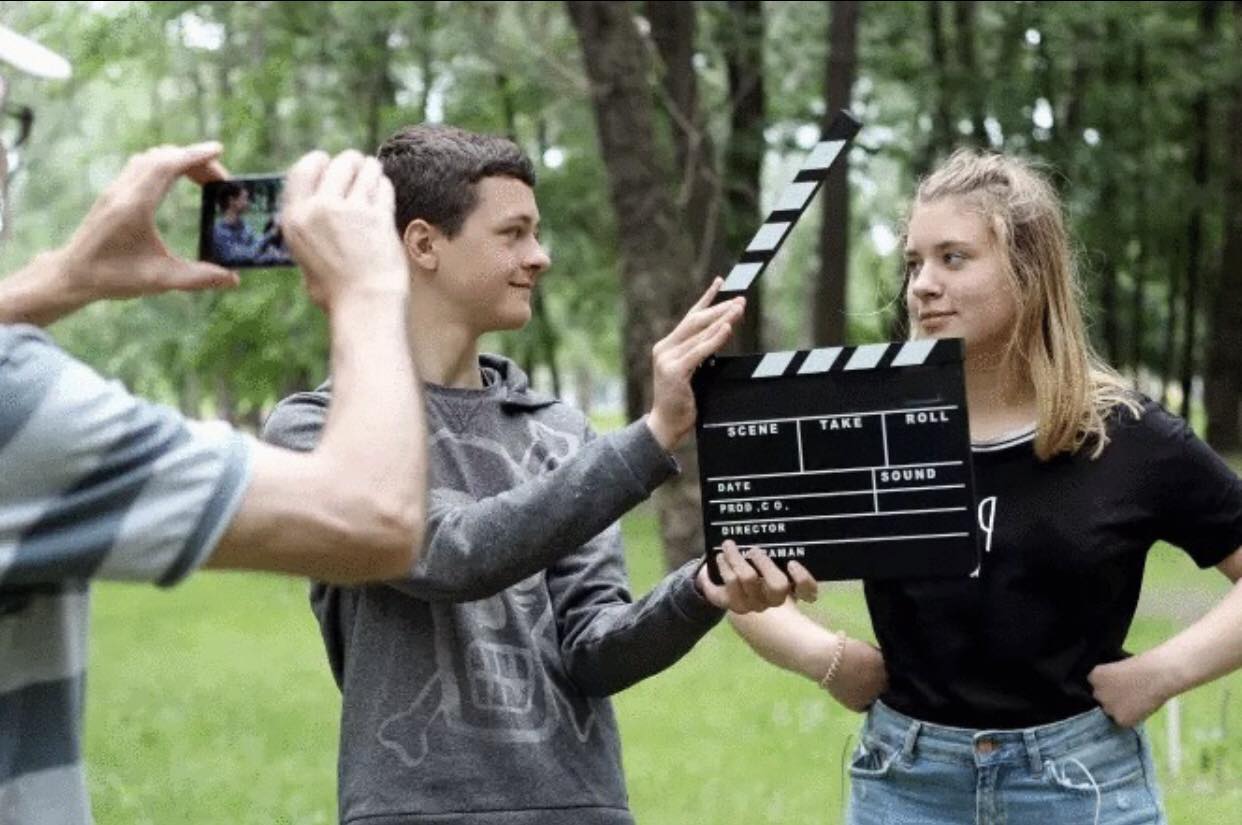
10. Create Variety with Alternate Shots
Break free from static shots by alternating angles, particularly in scenes involving multiple people. Editing shots from different perspectives can lead to engaging and visually dynamic sequences. This technique enhances your home videos’ visual appeal on both PC and MacBook platforms.
Simplifying Video Editing
After delving into expert tips for capturing captivating home movies, it’s time to explore the enchanting phase of filmmaking: editing. Mastering video creation entails embracing this pivotal step, as neglecting it could result in lengthy, unpolished videos that fail to engage viewers.
Before we delve into the heart of editing, let’s address some common mistakes often made by beginners – errors you’ll want to steer clear of:
Poor Lighting during Shooting

A foundational lesson budding filmmakers quickly grasp is the significance of lighting in movie-making. While your living room might seem adequately lit for reading, it doesn’t guarantee cinematic quality. Human eyes outperform cameras, capturing more light and glossing over imperfections. Shooting in standard indoor lighting can yield dull and dim videos.
Remember our earlier tip: tinker with your lighting setup. If you’re grappling with harsh shadows, introduce a white poster board or sheet just out of frame. This bounce will diffuse and balance the light, adding depth to your visuals. Crafting perfect lighting takes time, yet it’s invariably rewarding.
A foundational lesson budding filmmakers quickly grasp is the significance of lighting in movie-making. While your living room might seem adequately lit for reading, it doesn’t guarantee cinematic quality. Human eyes outperform cameras, capturing more light and glossing over imperfections. Shooting in standard indoor lighting can yield dull and dim videos.
Remember our earlier tip: tinker with your lighting setup. If there’s ample light causing unflattering shadows, consider using a white poster board or a sheet to bounce light and achieve a more balanced and dimensional visual appeal. Although perfecting lighting requires patience, the results are undoubtedly worth it.
Overlooking Sound Quality
True, your camera or smartphone boasts built-in microphones, but relying solely on them often leads to subpar audio, especially amid ambient noise. Our advice: invest in a directional microphone for your filmmaking endeavors. For pre-existing footage, fret not; audio cleanup is feasible during the editing phase. You can even incorporate software to overlay voiceovers and other audio enhancements post-shooting.
Lack of Backup Shots
Don’t assume the first take is flawless. Whenever possible, capture multiple shots to amass a pool of material for editing. This provides diverse angles and captivating footage that allows you to experiment with your style while honing your video creation skills.
Neglecting Proper Shot Composition
Utilize framing guides to align your shots meticulously. Avoid cropping off heads and confirm accurate focus. This meticulous attention to composition is pivotal in crafting any form of home movie, from video montages to more elaborate creations.
Overreliance on Post-Production Fixes

New video creators often attempt to rectify mistakes solely during post-production, resulting in a subpar final product. Instead, imagine editing software isn’t at your disposal. Strive to capture impeccable footage initially, treating editing as a means to enhance rather than salvage. By starting strong, your video will naturally improve through the editing process.
Essential Video Editing Features You Shouldn’t Miss
After discussing the pitfalls to avoid, let’s delve into the selection process for the right video editing software to suit your needs.
Here are some of the standout features that are popular among home movie creators, lending a professional touch to your productions:
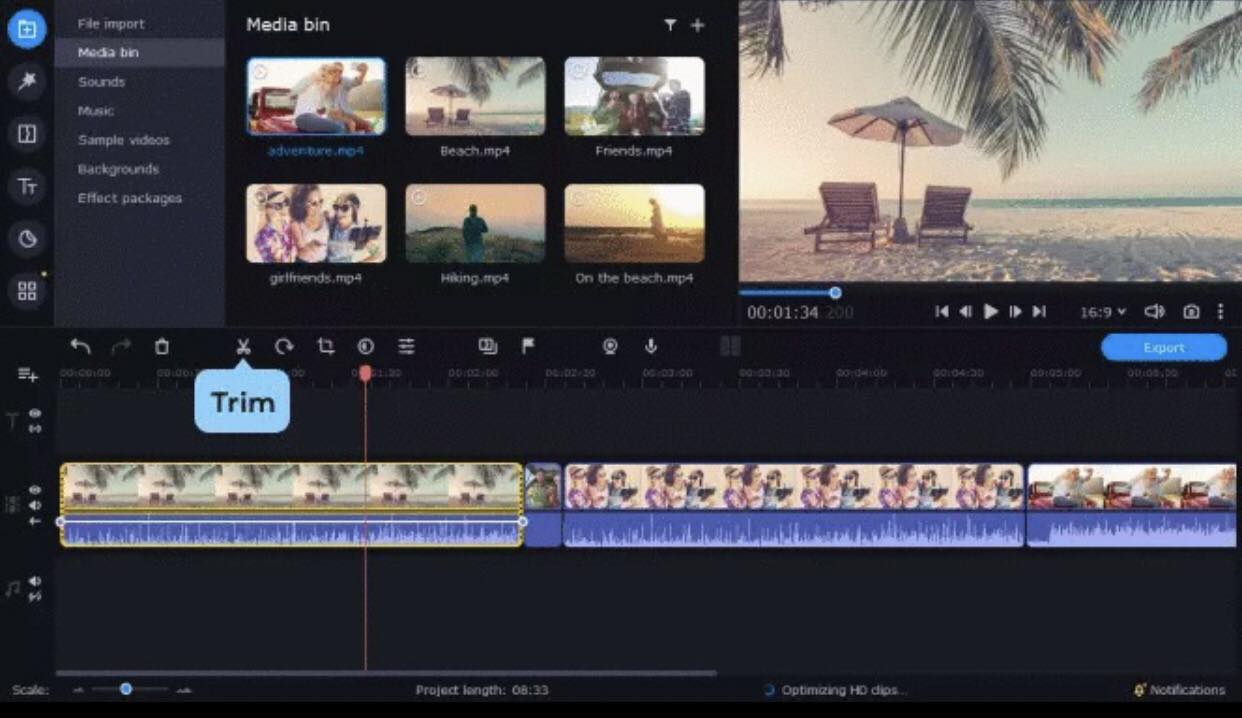
1. Trimming
When creating home movies, capturing moments before and after the main action is crucial for seamless editing. Trimming involves cutting the excess from the beginning or end of a video clip, ensuring precise timing and smooth transitions. This is a fundamental tool used extensively in the moviemaking industry.
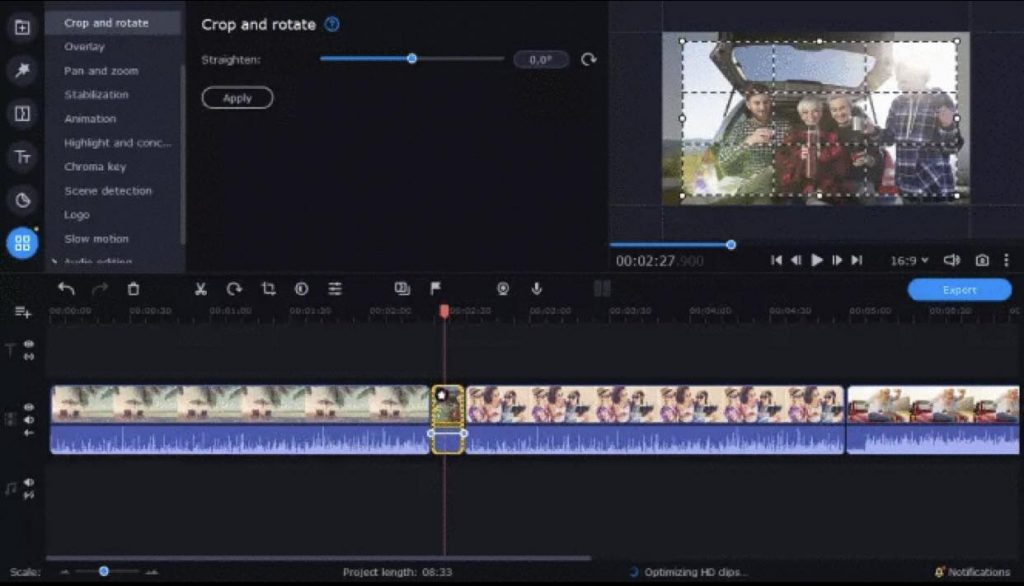
2. Cropping
Similar to trimming, cropping empowers you to eliminate specific parts of a video clip. Most video editing software displays clips in a timeline, enabling users to select segments for removal. The software then seamlessly merges the content before and after the cropped section into a cohesive video.
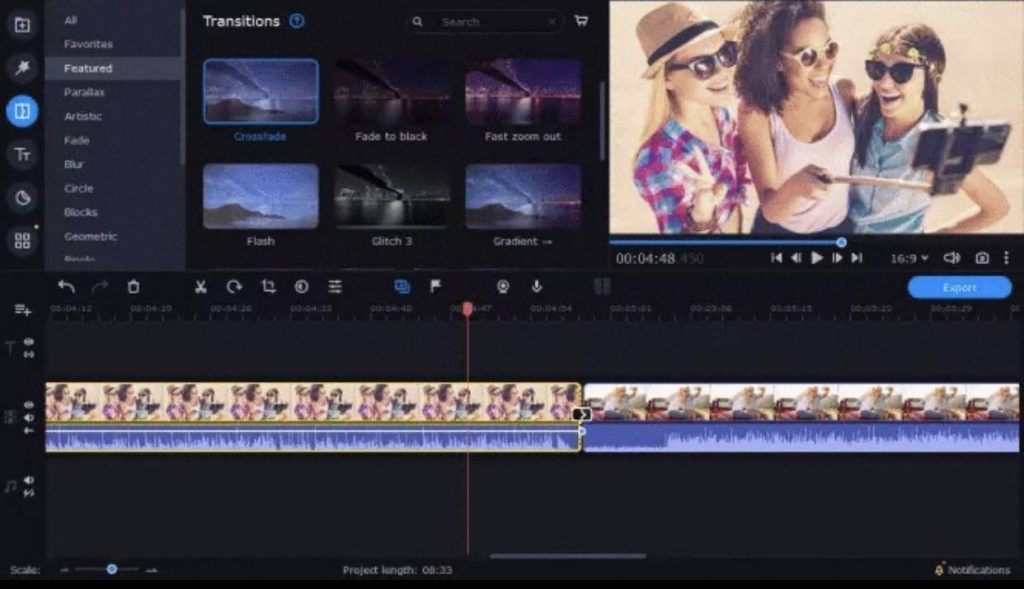
3. Transitions
To prevent abrupt jumps between scenes, transitions play a vital role. After trimming or cropping, transitions provide a graceful segue between shots. Incorporating predefined transition effects in software like Movavi Video Editor Plus elevates the overall visual quality of your project.
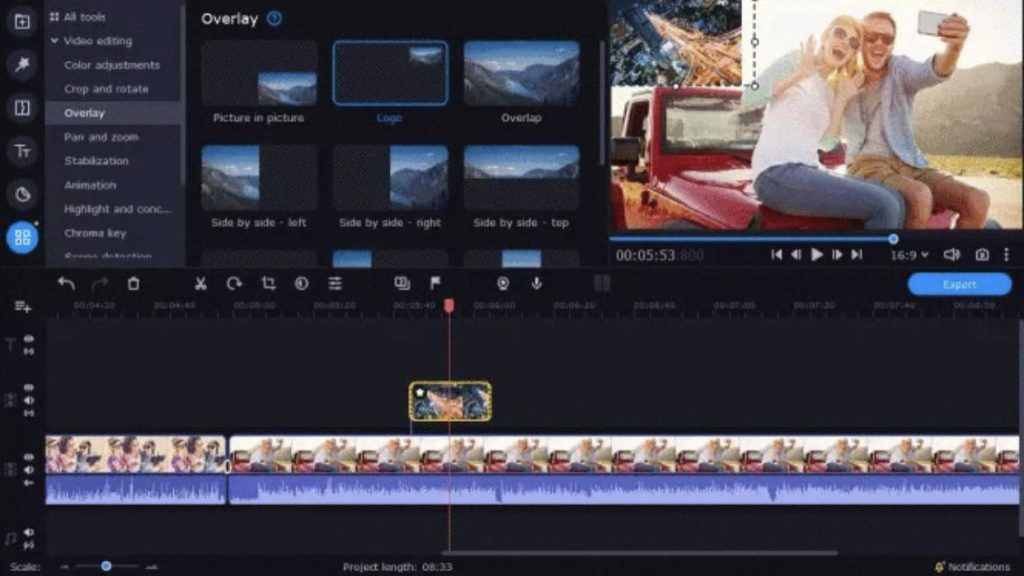
4. Photo Integration
Achieving a professional look often involves integrating photos into your video project. Whether for animated family photo montages or credits, opt for editing software that simplifies this process. Consider using tools like Movavi Video Editor Plus for Windows or Mac.
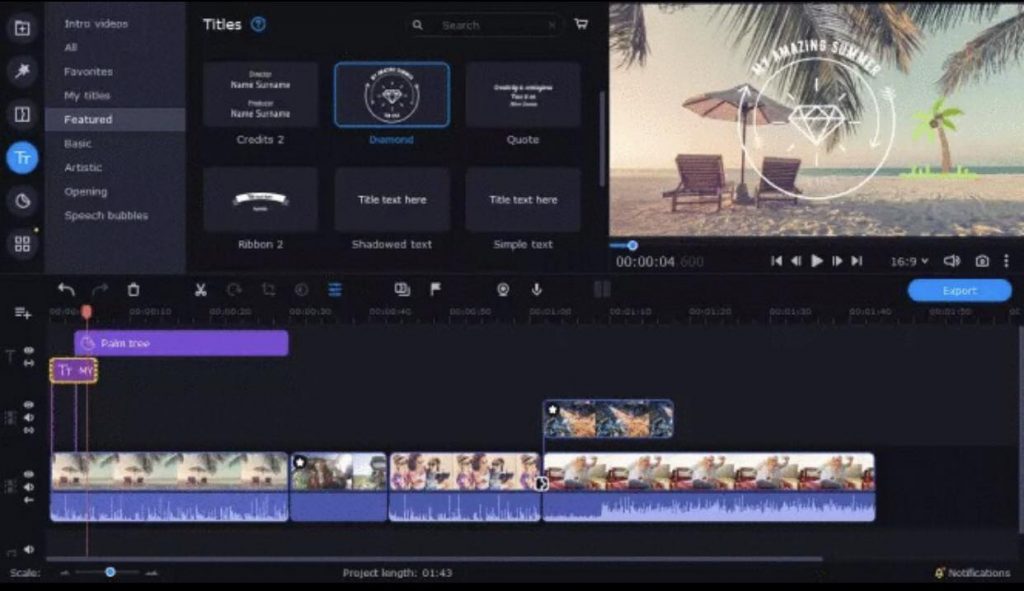
5. Titles, Credits, and Captions
To emulate the sophistication of pro-level movies, titles, credits, and captions are essential. The trend of including captions and subtitles in videos is growing, enhancing inclusivity and enabling viewing in noise-sensitive environments. Reputable software empowers you to seamlessly integrate text elements into your videos.
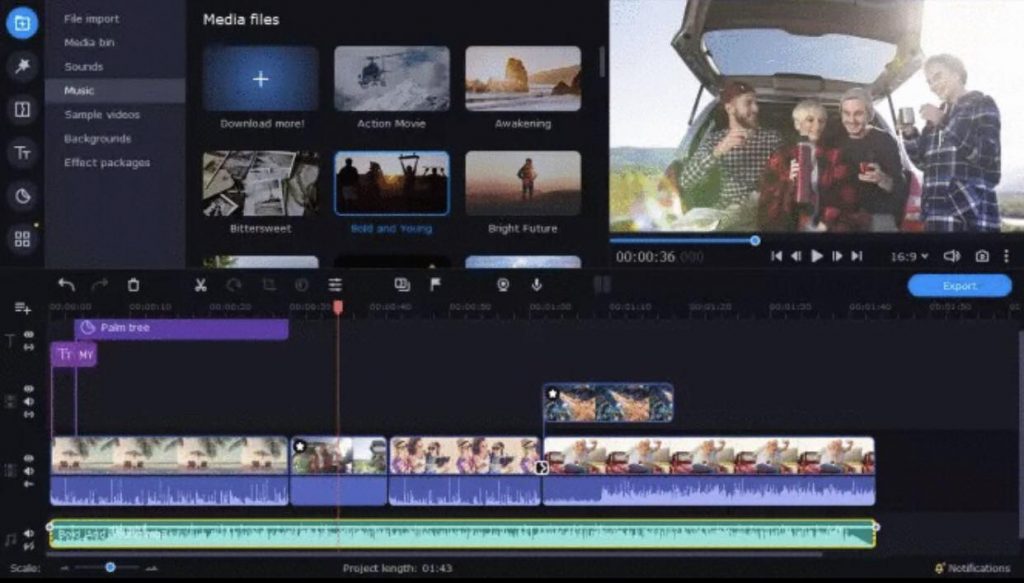
6. Music and Voiceover Tracks
A remarkable family movie often features a fitting soundtrack. Top-notch video editing software permits the addition of supplementary audio tracks, allowing you to infuse music or incorporate voiceovers. This element enriches the video, though be cautious about using copyrighted music for online sharing.
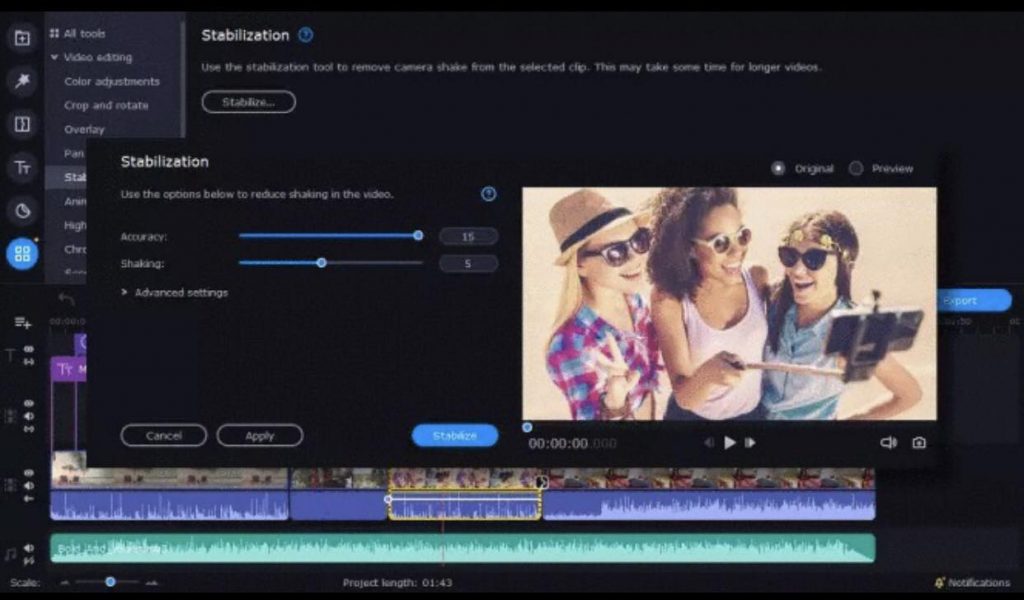
7. Stabilization
Stabilization is often overlooked as a video editing tool that can significantly enhance the professional and polished appearance of a video, especially when working within budget constraints. As previously discussed, it provides a means to eliminate the jitteriness present in shots taken while zooming manually or engaging in activities where a tripod isn’t feasible. If your chosen video editing software incorporates a stabilization feature, it can automatically rectify camera shake, resulting in the desired smooth and steady shot.
Ready to embark on experimenting with these popular editing features to create family videos brimming with charm? For a thorough video editing experience, go into Movavi Video Editor Plus.
🔥 Get Movavi Video Editor at a discounted price of 40% off!
This amazing deal won’t last forever, so grab it while you can!
Managing and Storing Video Content
Congratulations on creating your video! Yet, the crucial step often neglected in the filmmaking process is managing and storing your files. Given the potential size of video files due to resolution and length, relying solely on your PC or MacBook for storage might lead to rapid space depletion. So, what’s the solution?
Let’s explore the top three methods for efficiently organizing and storing your valuable video content.
1. Utilizing Cloud Storage

Need a dependable location to store your homemade video clips, accessible across various devices? Cloud-based storage offers the solution by allowing you to upload these substantial files online. Online access is available as long as you’re connected to the internet. Leading options include Google Drive, Apple iCloud, Microsoft OneDrive, and DropBox, with both free and paid plans. While free services offer limited storage, exceeding 5 GB often necessitates a paid subscription.
Advantages:
- Online accessibility from anywhere
- Reasonable costs for most paid services
Disadvantages:
- Dependent on internet connectivity
- Restricted storage for free plans
2. Local Hard Drive Storage

For computers with ample RAM, saving video files locally is an option. Archiving and compressing less frequently viewed videos can help conserve space. However, if your goal is frequent video creation over an extended period, storage capacity will be limited by your computer’s memory.
Advantages:
- No extra expense
- Convenient access from your device
Disadvantages:
- Storage constrained by computer memory
3. External Drive Storage
An alternative is investing in an external drive instead of relying on cloud or local storage. These drives, often connected via USB, have become cost-effective as technology advanced. External drives with multi-terabyte capacities offer a substantial solution for extensive video storage.
Advantages:
- One-time purchase requirement
- Cost-effectiveness
- Extensive storage space
Disadvantages:
- Necessitates linking the drive to your computer for file access
- File transfers to and from the drive may exhibit slowness
Closing Remarks: Recognizing the Significance of Editing
By now, you possess the comprehensive knowledge required to craft your own film, curate a video compilation, or produce a cherished family video. While family home videos offer enjoyment, they transcend mere entertainment. With diligent shooting, meticulous attention to elements such as lighting and sound, and utilization of top-tier video editing software, they can evolve into genuine masterpieces. Embrace filming moments with loved ones and seize the opportunity to explore the creative potential of your videos through the use of Movavi Video Editor.
💥 Unleash Your Creativity with Movavi Video Editor!
Grab a whopping 40% OFF now and transform your videos into masterpieces.
Don’t miss out – edit like a pro today!