
Transitions can make your video or slideshow play smoothly from a scene to the next ones. You can improve your movie making by adding your own special touches to make your media files distinctive and professional.
Today, we’ll show you how to add special transitions to turn your videos into outstanding masterpieces with the help of Wondershare Filmora (previously named as Wondershare Video Editor).
Filmora’s full price is $49.99, but you can download Filmora free here or grab this cool program at 40% discount below
(All Filmora’s discount are official and latest from Wondershare discount)
In this article:
Step 1: Import your videos
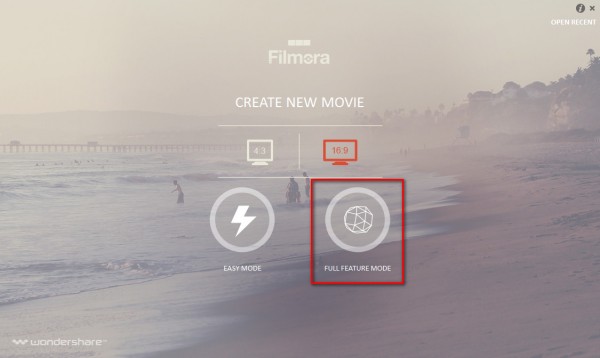
Launch the program > choose Full Feature Mode.
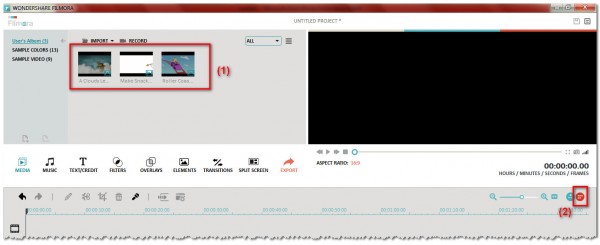
Click import your media to add you video clips (or images) (1).
Then, click Storyboard View button to change the way your files viewed (2).
Drag and drop each video to place them in the Story Board (3) in your favorite order. Then, click on Transitions button (4).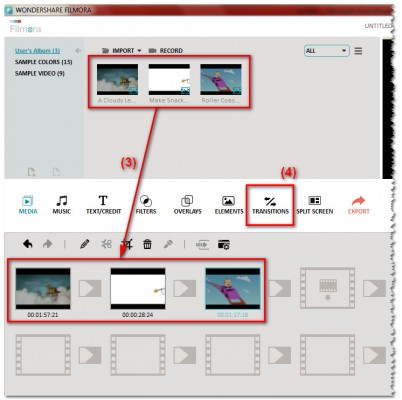
Step 2: Add and customize transitions
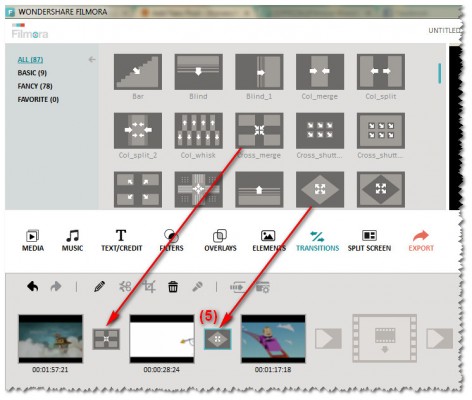
When Transition list appears, double-click to preview each transition.
Drag and drop the selected transition to the slot between 2 video/image files (5).
Tips:
– Right-click on the transition > select Apply to all if you only choose one option for the whole clip.
– Double-click on each transition to adjust the duration applied (6). And choose Apply to all (7) if you wish you make the same duration for all transitions in this video clip.

Step 3: Save your new clip
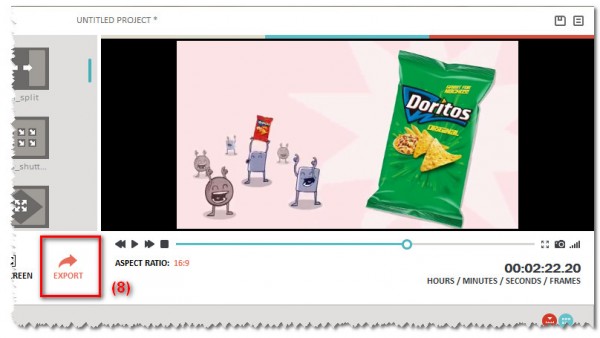
Now, play to preview your final video clip > Click Export button (8).
* Tips:
For future quick use, you can add transitions to “Favorite” list (right-click > Add to Favorites).
To delete a transition on the timeline, right-click > choose Delete.
Here is a quick step-by-step video tutorial on how to add transitions to your clips:
More tutorials with Filmora Video editor:
- Easy Trim, Split, Rotate and Join Video Clips
- Add Text and Introductions to Video Clip
- Add Text to DIY movie clips
- Display multiple clips in one video screen step-by-step
- How to add effects to video