An online solution is an excellent choice if you want a simple way to improve your video production with filter effects without the bother. Choosing an online option eliminates the need to download software to your computer. You can effortlessly produce engaging films from anywhere as long as you have an internet connection. You may also share your finished films online or export them to your PC or cloud storage.
In this article:
Method 1: Using Fastreel (Online Tool)
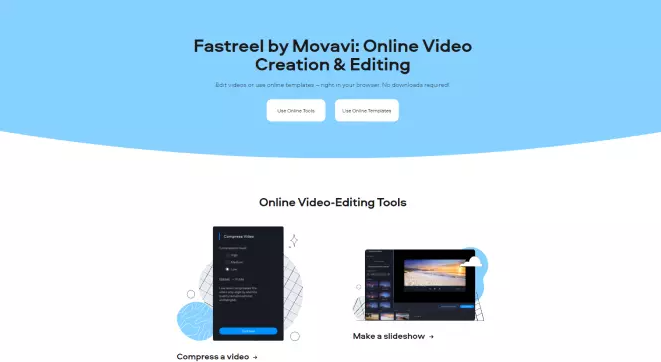
Fastreel is an easy to use online tool which allows you to apply video filters in a simple way. Like all Movavi software offerings, it boasts a user-friendly interface for easy navigation, making it accessible for both amateurs and professional videographers. The Fastreel makes sure that your files are safe, and you get great image quality.
Here are the steps:
- Visit the Fastreel website.
- Upload your video file from Dropbox, Google Drive, or your computer (up to 500 MB per file).
- Browse and select the filter you want to apply from the available options.
- Preview the video with the selected filter.
- Click the “Export Result” button to save the edited video to your computer.
Fastreel offers a free version with editing features and download options, but it adds a watermark to your video. To remove the watermark and access additional features and templates, you can upgrade to their Premium plans.
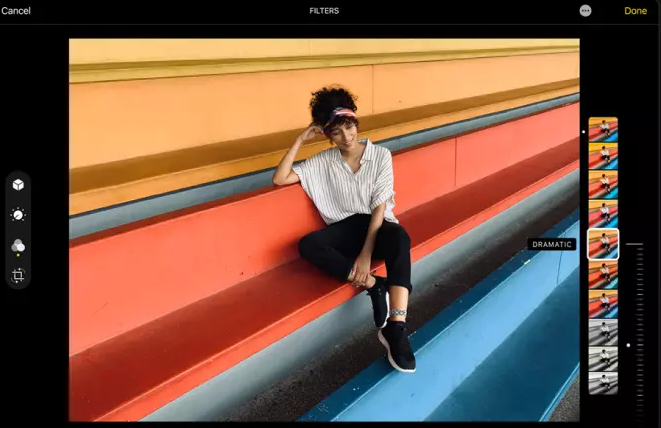
Method 2: Using iPhone’s Photos App (For iPhone Users)
Elevate your iPhone videos with ease using the pre-installed Photos app, available on all iPhones and compatible with iPads and other Apple devices. Enjoy exceptional video quality, dependent on your iPhone model.
Photos is your go-to for photo and video editing, with organized album storage. Note that it has video file size limits, so consider reducing resolution or using iCloud storage. It’s user-friendly, following Apple’s intuitive design, making it accessible even for non-tech-savvy users.
For straightforward video filtering and special effects on your iPhone, Photos is the ultimate choice. Beyond filters, fine-tune lighting and colors. Automatic sync across iOS devices offers real-time cross-platform access to your media.
Here’s a step-by-step instruction for adding a filter to your iPhone videos:
- Launch the Photos app on your iPhone.
- Navigate to Albums > Media Types > Videos.
- Choose the video you wish to edit for filters and tap “Edit.”
- Tap the Filter icon to access the filter options.
- Browse through the selection of 9 filters and choose the one that best suits your video.
- You can preview the video before and after applying the filter by tapping the original video.
- If you’re satisfied with your edited video, tap “Done” to save your changes. Otherwise, tap “Cancel” > “Discard Changes” to start over.
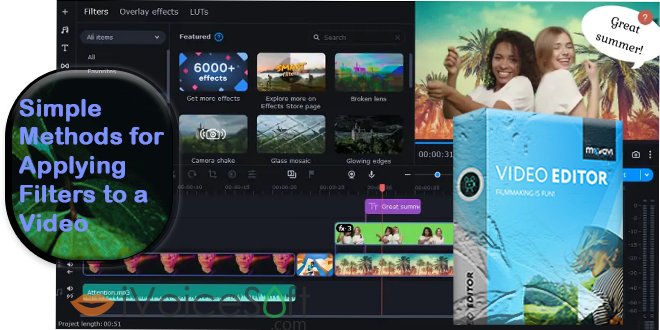
Method 3: Using Movavi Video Editor (Desktop Software)
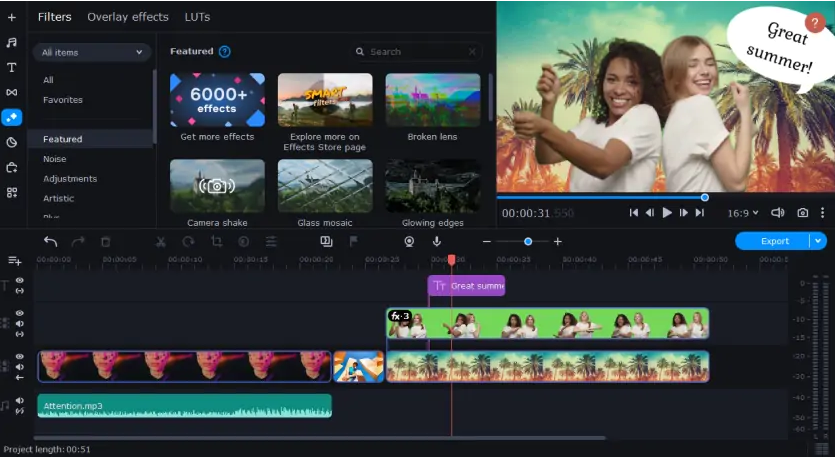
Movavi Video Editor comes with a plethora of video editing filters and features to help you create the ideal video clip. You may improve your movie by adding creative effects, contrast filters, or adjusting color settings – the results will be simply spectacular!
🔥 Get the best deal on Movavi Video Editor with a fantastic 35% discount! Edit your videos like a pro, add stunning effects, transitions, and music to make your memories unforgettable.
Hurry, this sizzling deal won’t last long! Grab it NOW and save big!
Here’s how you can apply a filter to your video using Movavi Video Editor:
- Launch Movavi Video Editor and click the “Add Files” button to import your video.
- Your video will appear in the Media Bin. Drag it into the Timeline.
- To access video filters, open the “Filters” tab. Select the filter you want to apply and preview it on the right. Movavi Video Editor provides options like adding a VHS effect, applying a negative video effect, and much more.
- Once you’ve decided on a filter, simply drag and drop it onto the video in the timeline.
- If you want to make color adjustments, select your video in the Video Track and click on the “Color Adjustments” button. You can opt for automatic adjustments by checking the relevant boxes or choose “Manual Adjustments” to fine-tune your video’s appearance by adjusting sliders.
- After you’ve achieved the desired look for your video, click on the “Export” button. Here, you can choose the format, specify the destination folder, and give your file a name. Finally, click “Start” to initiate the export process.
In no time, you’ll have a professionally edited video with your chosen filter and color adjustments applied, ready to impress your audience.
Conclusion
In summary, adding video filter effects can enhance your video projects and give them a professional touch. Explore different software options, test them out (especially the free ones), and watch online tutorials to improve your video editing skills. Whether you prefer online tools or dedicated software like Movavi Video Editor, you’ll have the flexibility to adjust colors, resolutions, add special effects, and make your videos unique.