In this article:
DoYourData recovery review
DoYourData Recovery for Mac is an award-winning Mac data recovery program. With advanced technology, this easy-to-use yet powerful Mac data recovery software can easily find & recover deleted or lost data from hard drive/storage media under Mac OS. It has powerful data recovery ability:
- Supports to recover lost data from hard drive, USB flash drive, portable hard drive, memory card, SD card, CF card, digital camera, RAID, Server system, or other storage media device.
- Completely recover lost data due to deletion, format, virus infection, volume loss, logical error, OS upgrade or other unknown reasons.
- Supports to recover all types of lost files including documents, videos, photos, archives, audio/voice files, emails, etc.
- Supports recover lost data from damaged or lost Mac volume.
Do Your Data Recovery for Mac can easily recover lost data even you have emptied trash bin. And it also can export all data from an inaccessible hard drive without any loss. Do Your Data Recovery for Mac also supports raw recovery when the file system is damaged or crashed. It is fully compatible with OS X 10.6, 10.7, 10.8, 10.9, 10.10, 10.11 and macOS 10.12 Sierra.
User guide of Do Your Data Recovery for Mac
Do Your Data Recovery for Mac is pretty simple to use. The wizard-style interface allows users easily and quickly recover lost data within a few clicks. Here is the guide: how to use Do Your Data Recovery for Mac to recover lost data.
Step 1: Install Do Your Data Recovery for Mac on your Mac
Download and install Do Your Data Recovery for Mac on your Mac. Then run it on your Mac. When you want to recover lost data from external device, you should connect your device with the Mac that has installed Do Your Data Recovery for Mac.
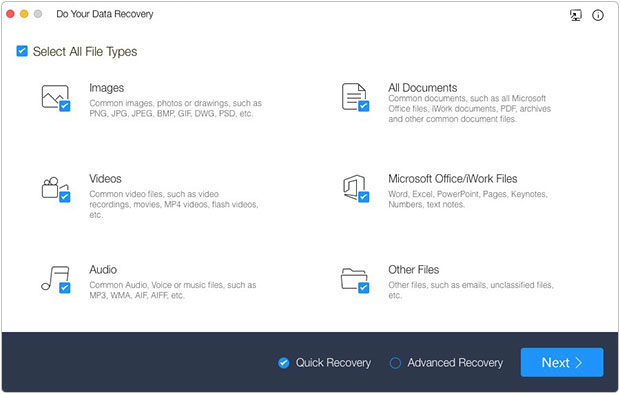
Step 2: Select file types you want to recover
Do Your Data Recovery for Mac will recover all types of lost files by default. But if you want to recover specific file types, you can select on the interface. Then move to the next step.
Step 3: Select hard drive to scan
Where you delete or lose your files? Just select the hard drive you want to recover data from. Then click on “Scan” button to scan your hard drive to find lost data.

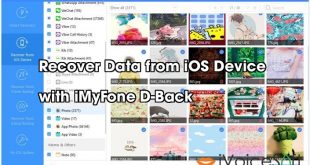
Step 4: Preview and recover lost files.
Once the scanning gets finished, you can preview the files. Then just select the files you want to recover and click on “Recover” button to save them to your Mac.
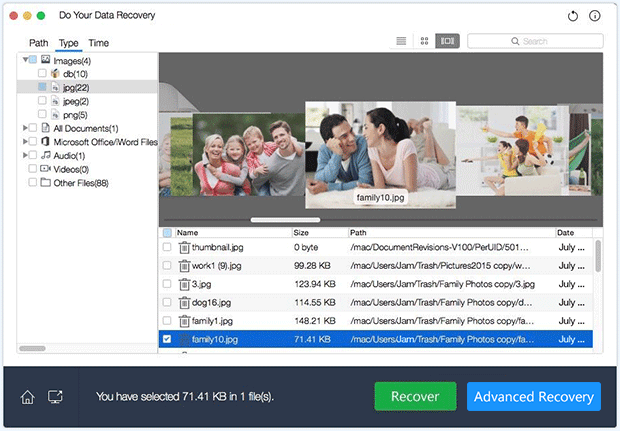
If you have not recovered all your lost data after quick scan, just click on “Advanced Recovery” button to rescan your hard drive in deep scan mode. The deep scan takes more time to scan your hard drive, but finds much more lost files. Please don’t put new files to your hard drive before you recover all lost files in case that the lost files would be overwritten by new files.
>> Find more DoYourData coupon discount at my coupon archive Or get Do Your Data Pro coupon code here.