It is important to know how to install new brushes in Clip Studio Paint. After all, we just got some new and good looking brushes to have some fun with and we need to add them to the software! There aren’t as many Clip Studio Brushes around as we wish, but there’s still some very good material.
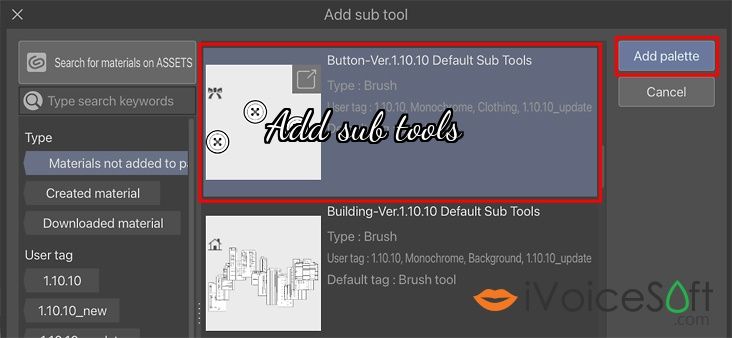
You can import brush/tool materials downloaded from Clip Studio ASSETS using the Sub Tool palette > Add sub tool command in Clip Studio Paint.
Importing Brushes in Clip Studio Paint is fairly easy, as long as they’re specifically made for Clip Studio. These brushes are usually named with the .sut extension! There are actually two ways to import brushes. A more complex one, but not too much, The process depends on your device, so please check the following.
Select the Window menu > Sub Tool to show the Sub Tool palette.

Select the “Add sub tool” button at the bottom of the Sub Tool palette.

If you cannot see the “Add Sub Tool” button, please update to the latest version, or use the “Add sub tool” icon at the bottom of the palette.

Select the sub tool you want to import and tap “Add palette” to add the sub tool. If you cannot see the sub tool, select “Downloaded material” on the left.


On Smartphone, Select the Tool icon in the Edit Bar, then Select the sub tool group you want to add the brush/tool to, then tap “Add sub tool”. After that, Select the material you want to import and tap “Add palette”.

If you cannot see the material, tap the “Material search tag” icon and select “Downloaded material”, then press OK.

Final, The selected brush/tool material will be added to the sub tool group.
Whenever you want to own yourself Clip Studio Paint PRO, save your money by visit the Clip Studio Paint PRO promotion page HERE

 iVoicesoft.com Software Review, Software Giveaway & Deals


