AV Audio Converter is a specialized program for converting audio files from one format to another. This tool is highlighted for its user-friendly, yet professional interface.

- Easy-to-use interface
- Input separate files one by one; as well as whole folder at once
- Offer the possibility of converting files in a batch
- Specify encoding settings before conversion
- Adjust the quality of output file(s)
- Supports name templates for output files during bulk conversion
Input File Format Support:
MP3; WAV; WMA; OGA; OGG; FLAC; AIF; AIFC; AIFF; AAC; M4A; MP4; CDA; CUE; APE; APL; MPC; SPXL; TTA; WV
Output File Format Support:
AAC; APE; FLAC; MP3; MP4; MPC; OGG; RAW; SPX; TTA; WMA; WV
In this article:
How To Install
To install AV Audio Converter program, perform the following steps:
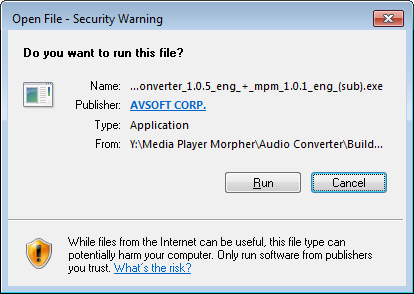
First come is always Windows security screen ask for your confirmation of running the program. Hit the Run button to move on.
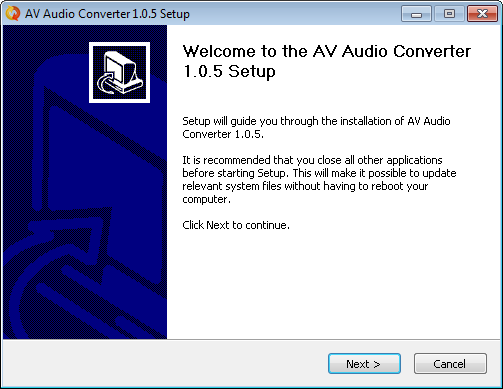
Next, coming Welcome screen , hit Next button to continue.
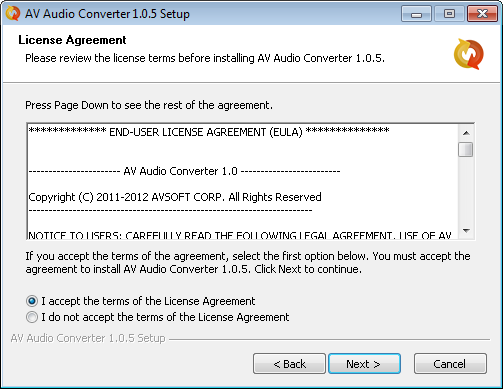
License Agreement – Make sure that you read the entire document before deciding to accept our terms.
Then, hit the Next button to continue.
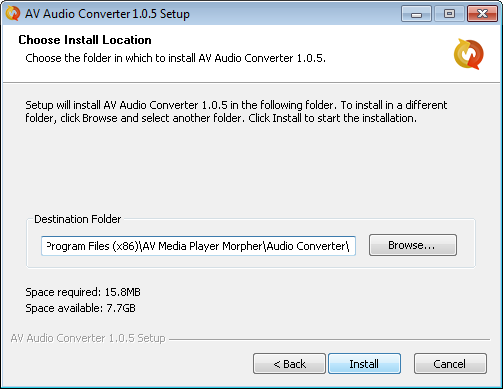
Choose Install Location – to change destination folder of the installed program, hit the Browse buttton. Otherwise, leave it as default and hit Install to move on.
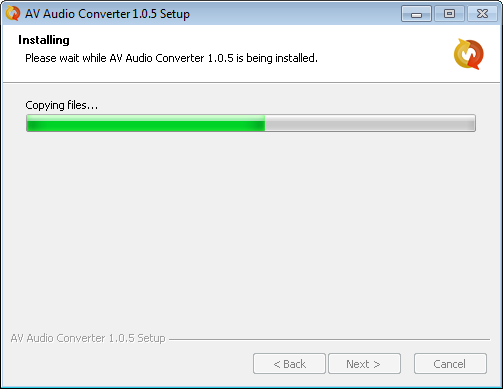
Depend on your computer’s configuration, the installation often completes within a minute.
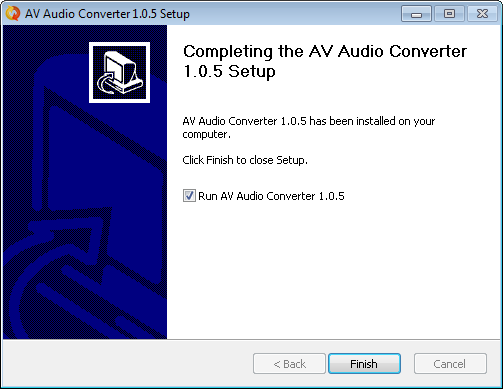
Installation Completed.
How To Uninstall
To uninstall AV Audio Converter, follow these steps:
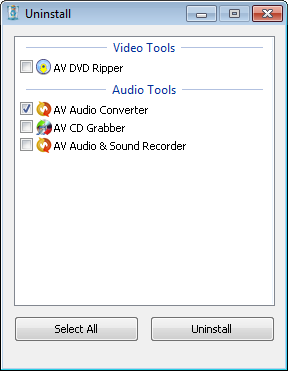
- In Windows desktop, click Start > Programs (sometimes All Programs) > AV Media Player Morpher.
- Select
 to run Uninstall program.
 - Select Audio Converter or any program among the AVSoft Programs listed as per below image and hit Uninstall.
Using Audio Converter
Overview
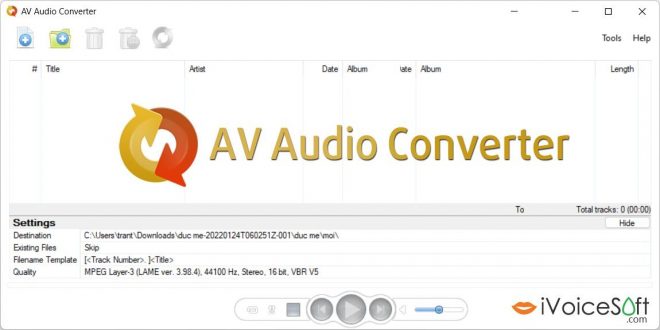
AV Audio Converter is a specialized program for converting audio files from one format to another. This tool is highlighted for its user-friendly, yet professional interface.
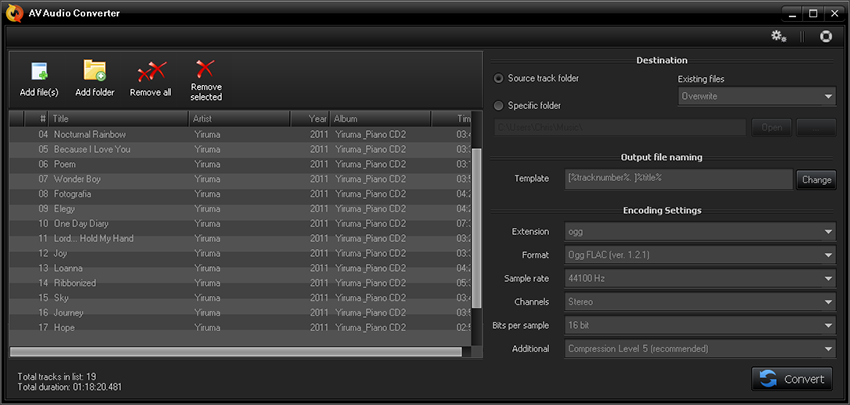
Fig 01. Audio Converter main skin
Multiple file format support
AV Audio Converter supports converting audio files between various types of format and codecs.
Input File Format Support:
MP3; WAV; WMA; OGA; OGG; FLAC; AIF; AIFC; AIFF; AAC; M4A; MP4; CDA; CUE; APE; APL; MPC; SPXL; TTA; WV
Output File Format Support:
AAC; APE; FLAC; MP3; MP4; MPC; OGG; RAW; SPX; TTA; WMA; WV
Batch Files Conversion
AV Audio Converter allows adding up to unlimited files for a converting session.
Windows 7 Integration supported
AV Audio Converter fully integrates with Windows 7’s newest taskbar and the Aero desktop technology. It is built entirely on Microsoft’s Windows Presentation Foundation , which is powered by Microsoft Direct X. Therefore, the user interface can utilize your computer’s graphic card for fastest UI performance experience.
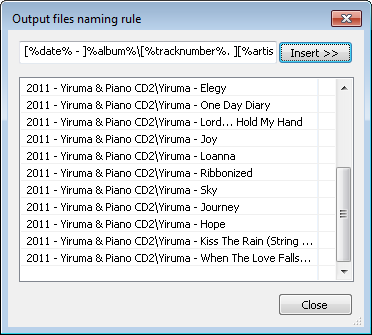
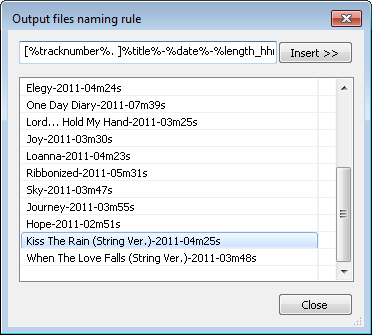
Output file naming template
AV Audio Converter supports pre-defined name templates for output files so that users can easily manage their files, especially when converting an entire music album with a certain artist or genre

Program Options
In AV Audio Converter, there are some options categorized into 2 group as listed in the image below:
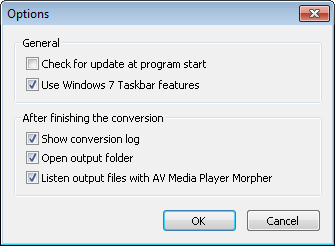
General
- Check for update at program start
- When this option is enabled, the program will check for updates at program start. If it finds any updates that is avaiable for downloading, the Update Manager utility is called up and then does its part. If no updates found, nothing will show up.
- The Update Manager tends to check for updates not only for AV Audio Converter, but also for other AVSoft programs which are already installed on user’s computer.
- Use Windows 7 Taskbar features
If this option is enabled, users may see the conversion progress via Audio Converter’s taskbar icon (when the program is minimized).
After finishing the conversion
- Show conversion log
Show the conversion log after the conversion finished. This should be in help for user to specify the possible problem when there is an error during the conversion. - Open output folder
This option is to open the Output folder right after the conversion finished. - Listen output files with AV Media Player Morpher
AV Audio Converter associate with Media Player Morpher, which helps users in playing different audio format files, from lossy to lossless ones. . So, if this option is enabled, the built-in player will auto-play the output files after the conversion for reviewing.
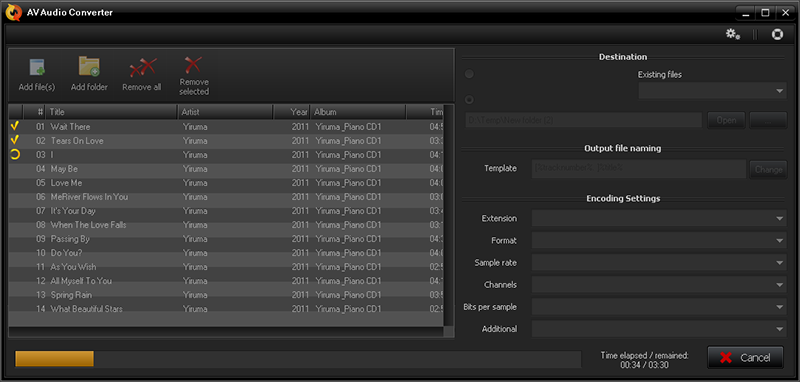
How To Convert File
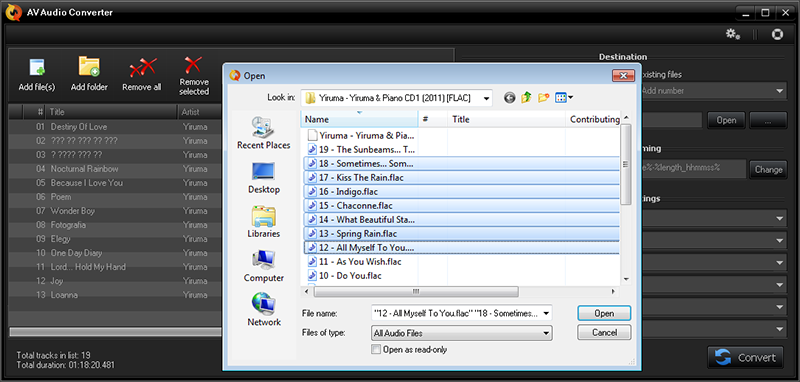
1. Adding file(s)
There are two ways users can add files into AV Audio Converter for converting. One is with Add file(s) button and another is with Add Folder button.
Users who use the Add file(s) option tend to open multiple desired files within a folder only. On the other hand, Add Folder is used to load all files in a selected entire folder.
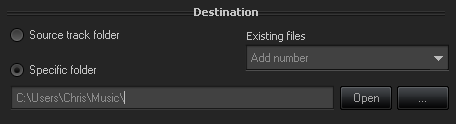
2. Destination Settings
Output location & overwrite settings
- Source track folder: users may select Source track folder option for saving the output into the same folder of the source file. Users who use this option should be cautious because it may cause source files to be replaced once they make mistake.
- Specific folder: users may specify any folder on their hard drives for saving the output by simply hitting the Browse button next to Open. The Open button is also in help for users to instantly access their current output folder.
- Existing files: within this settings, there are 4 options for users in case they select output folder the same as Source Track folder. They are: Ask, Skip, Overwrite and Add number.
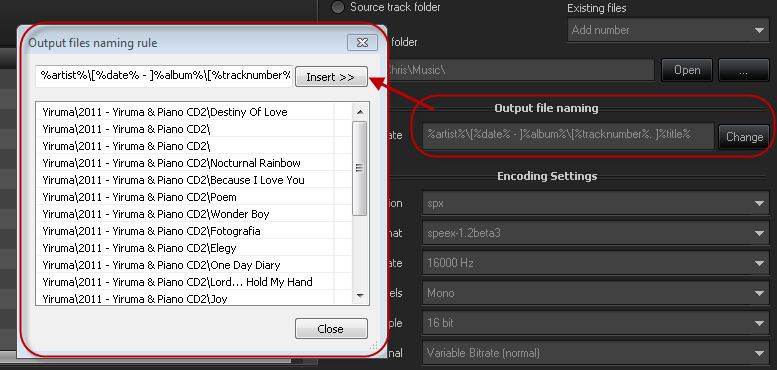
Output file naming rule settings
This feature of AV Audio Converter allows users to rule the name of output files subject to customizable and pre-defined templates. This always helps users much in archiving, storing and managing their favorite music albums.
Encoding Settings
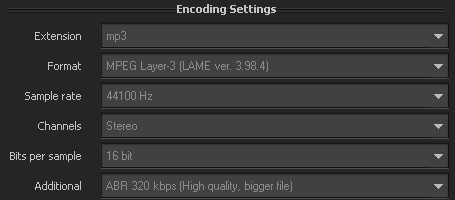
As you may notice that AV Audio Converter supports many different output file formats and codecs. So, if you are not sure what to select in this part, you should always select the one which is marked as “recommended” or “default”.
3. Start the Conversion and listen to output result
Depend on users’s computer configuration, the amount of files to convert and the quality of the output settings, the conversion may take from several minutes to hours. The better the quality the longer it may take.
Note: Audio Converter has a special built-in player which helps users enjoy music with outstanding effects like Pseudo Surround and X-Surround (fabulous audio effect credited to AVSoft Corp.). Users can also make their own settings so that the player will auto-play output files after each conversion session by enabling “Listen output files with AV Media Player Morpher” via the Program’s Options.
Download detail of AV Audio Converter as zip file here: https://www.ivoicesoft.com/ug/audio-converter/