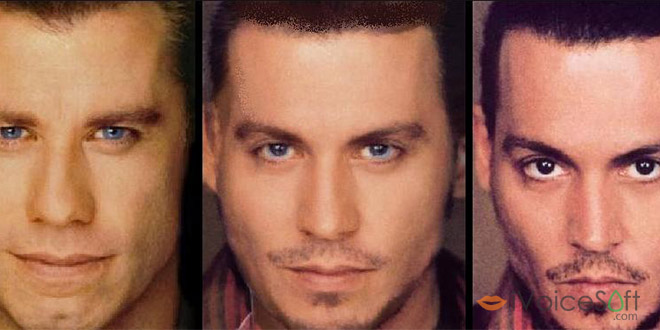
In today’s’ tutorial, we will show you a cool way to turn a series of images into a gorgeous morphing project wizard using the advanced FantaMorph from Abrosoft. For those who are still new with this program, check out our full review for FantaMorph here, and a comparison review for 3 different versions.
Abrosoft FantaMorph has 3 editions. See more detail to compare FantaMorph’s Editions Here.
- FantaMorph Standard:
$29.95– $20.97 - FantaMorph Professional:
$59,95– $41.97 - FantaMorph Deluxe:
$99.95– $69.97
Note: This promo price may be changed in the future. But don’t worry. We daily update discount with the best price. So please visit Abrosoft FantaMorph discount page to get new linked-coupon if you cannot use above link.
Let’s get started!
In this article:
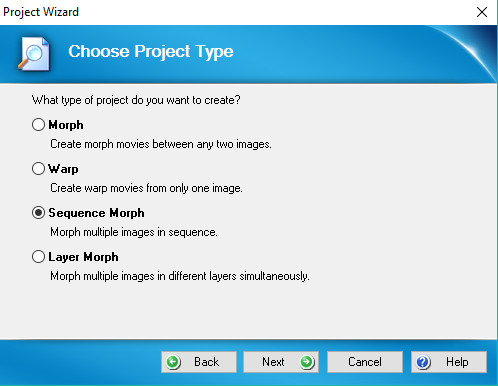
Step 1: Run Fantamorph
Open the program >> Click File >> Create a new project >> Sequence Morph (or Layer Moph).
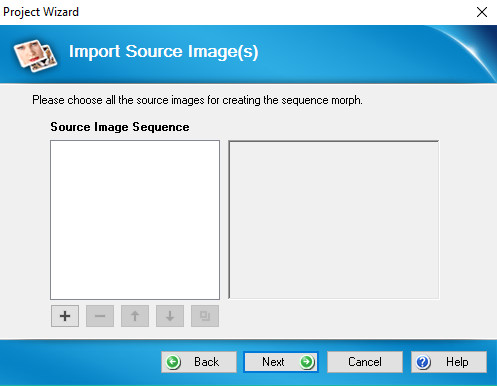
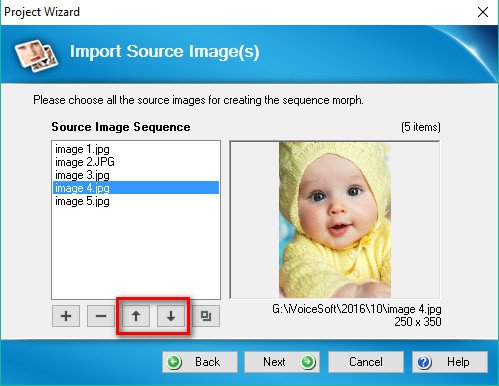
Click + button to add images for Source Image Sequence. You can select one by one, or multiple images from a folder, then use Up and Down arrow buttons to arrange the order of these images as you wish.
Step 2: Detect faces and generate key dots
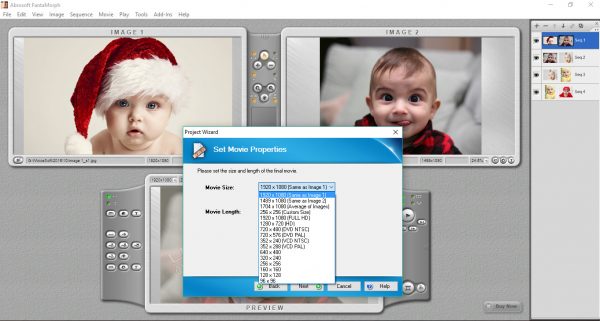
Once the morph project has been created, set your desired movie size first.
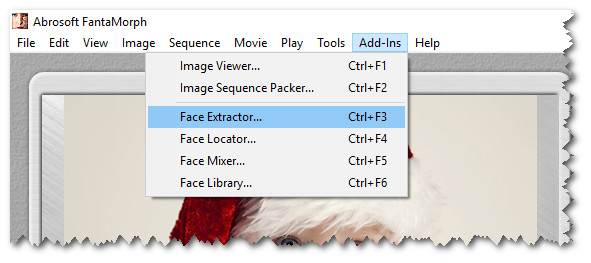
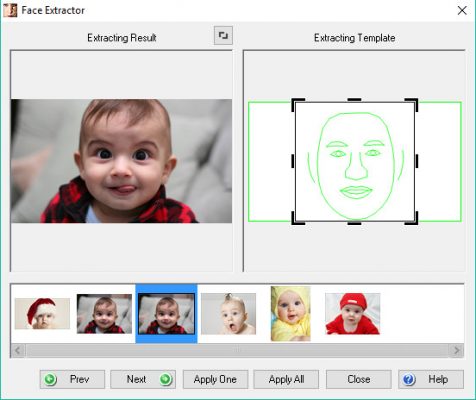
Due to size differences between images, each one’s key dots may not correspond with each other. But no worries! You don’t need to edit key dots one by one thanks to Fantamorph’s Face Extractor feature. On menu bar, click Add-Ins >> Face Extractor… >> Apply All. Fantamorph will detect the face in your images automatically.
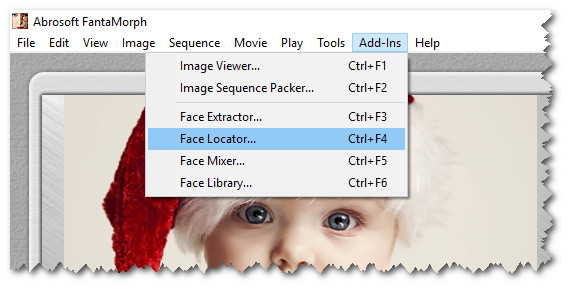
Click Add-Ins >> Face Locator… you will see the program intelligently detect and place key dots on each of your image. However, you are always free to edit key dots to make the morphing process more perfect.
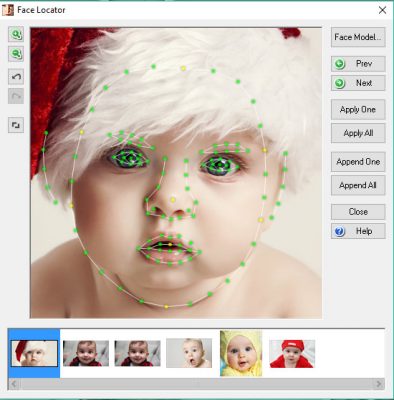
Click Apply All and preview your final morphed project.
~> If you want to buy the full version of FantaMorph, please save your money by getting Fantamorph Coupon HERE