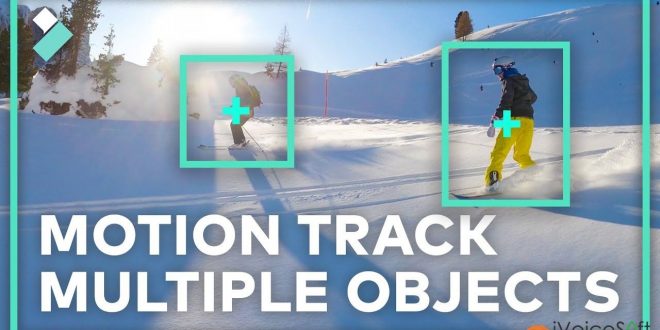
Motion Tracking is a feature in Filmora X that enables you to track the movement of an object such as a human being, car, ball, etc. in a footage. This feature is most helpful when you want another element like a text or an image to follow the tracked entity. Without Motion Tracking, you are required to make the elements follow the object by changing their position frame-by-frame, or by adding the animation keyframes with precise timing that again is a tedious task. Motion Tracking makes all these things simple.
Here’s how to apply motion tracking in Filmora X:
Step 1: In the Timeline, split the media to isolate the section with the object you want to track the movements of.
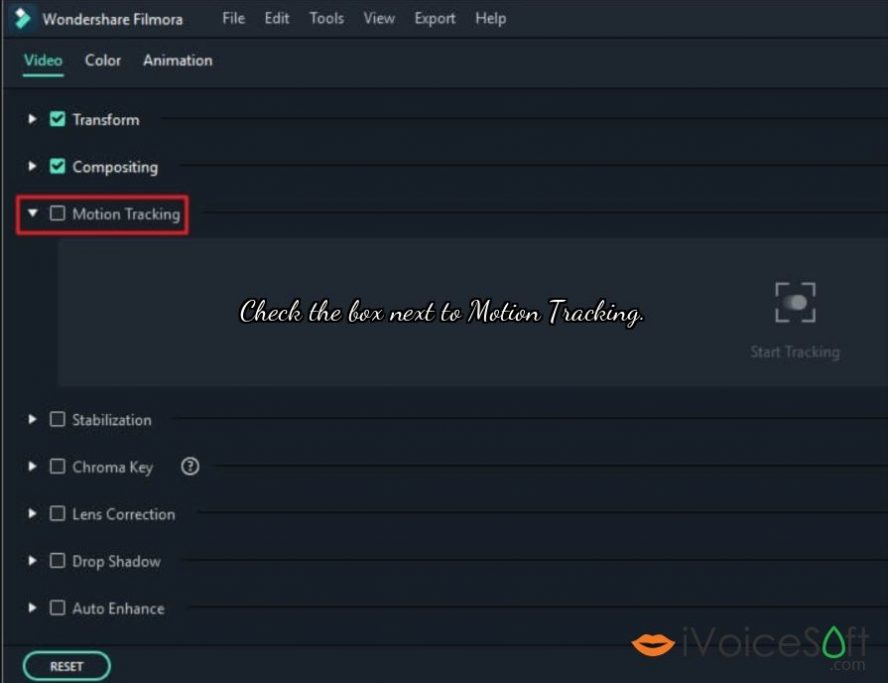
Double click on a clip in your timeline to open the editing menu, then check the box next to Motion Tracking.

Click the Motion Tracking icon from the toolbox above the Timeline.
Step 2: Move the tracker box (1) over the moving object in the video you want to track and click Start Tracking (2) to render the effect.

In the Preview window, adjust the size of the tracking frame to keep the target object in its center.
Click Start Tracking from the left window.
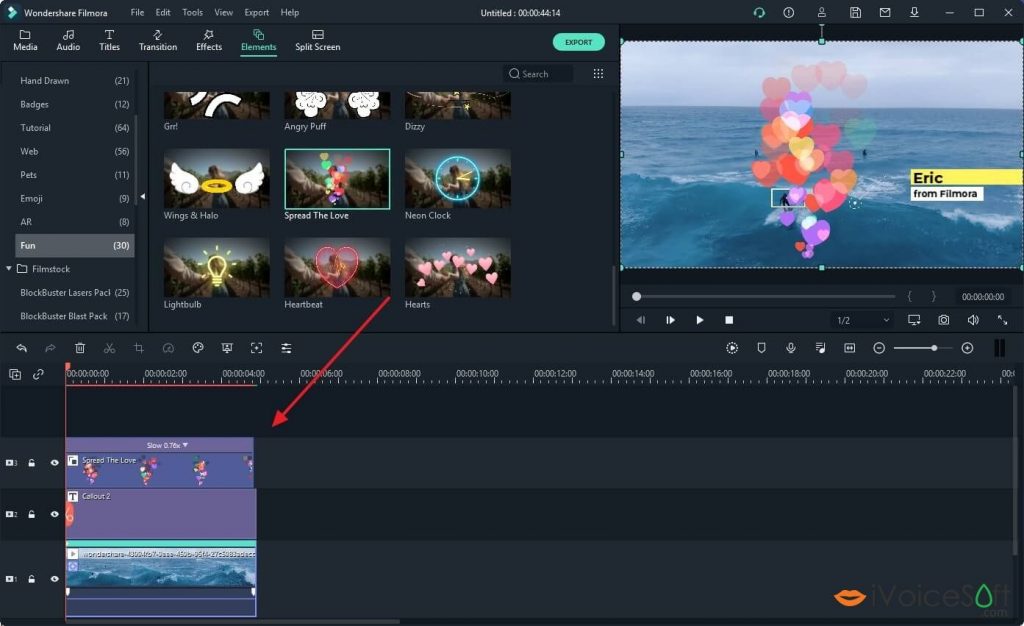
Step 3: Next, drag and drop texts, images, elements, or video clips to the track above the video, and adjust the position, size, and orientation if necessary.

Step 4: Once the process is complete, use the drop-down list that appears next in the left window itself to pick an element to attach to the tracked object.

Playback the video and check the tracking result. You can fine-tune the size and position of the object following the track in the Preview without start tracking again. Besides, you can also switch the follower at any time.
Introducing the NEW era of Filmora! Wondershare Filmora X is here with features like motion tracking, keyframing, audio ducking, and more. In this video, you’ll learn the basics of how to use motion tracking in Filmora X.
The latest version of Wondershare Filmora X comes with tons of advanced features like Auto Reframe, fresh split-screen templates for Instagram, HEVC Codec support for the instant cutter tool and direct importing from photo libraries. Got it with the best price through our Wondershare discount page.

 iVoicesoft.com Media Software Review


