Everyone loves sharing their favorite moments to people on Facebook, like images, videos, etc. And this tutorial will instruct you on creating impressive slideshows to share with your Facebook friends. The tool of our choice today is SmartSHOW – the all-in-one slideshow maker that is able to make difficult tasks become pieces of cake.
For those who haven’t got the program yet, you can download it quickly at the link below:
Don’t pay SmartShow with full $29.00. You can buy SmartShow with coupon discount, only $8.70 here (70% OFF)
In this article:
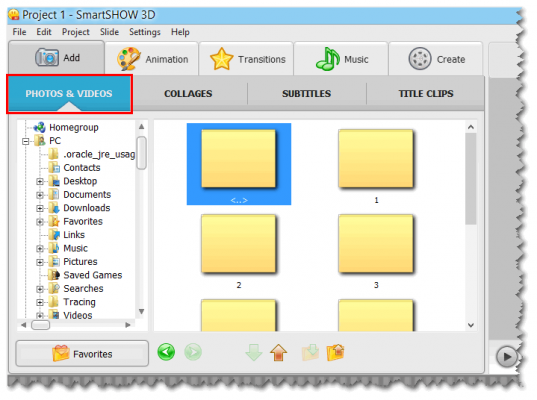
Step 1: Add photos to new project
Go to Add tab:
- PHOTOS & VIDEOS : Browse for photos you want to add in the slideshow
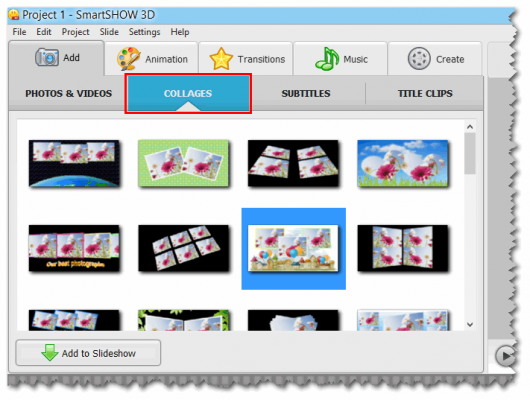
- COLLAGES: Put multiple photos as collages
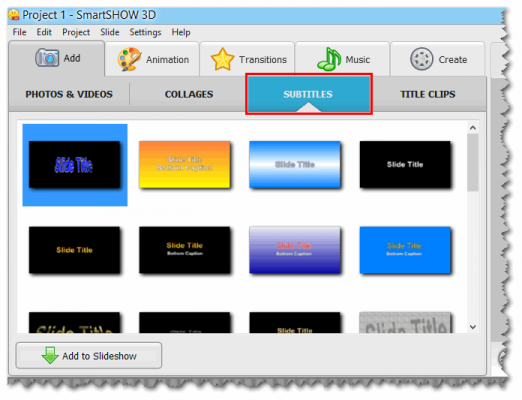
- SUBTITLES: Add text to your photos.
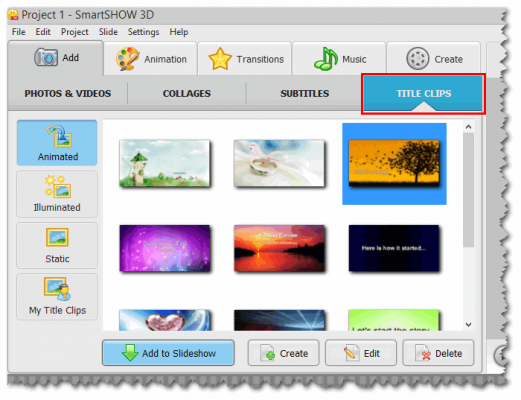
- TITLE CLIP: Create an opening clip for the slideshow.
Step 2: Add animation effects
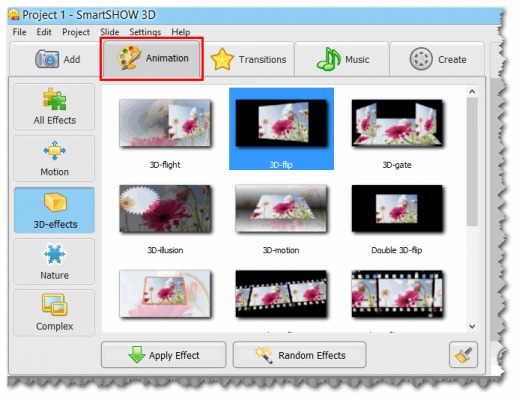
Go to Animation tab >> Select your favorite animation effects and drag it/them to the storyboard at the bottom. Alternatively, click Apply Effect button to apply a specific one, or Random Effect to let SmartSHOW decide it for you.
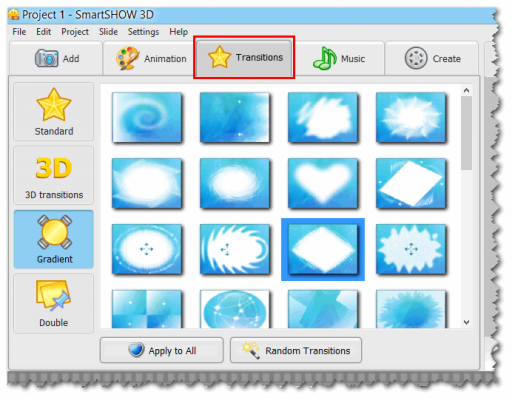
Go to Transition tab >> Select transition type you like and drag it/them to storyboard. Or click Apply to All (if you want to use one effect for the whole slideshow) or Random Transition (if you want the program apply random transitions for you).
Step 3: Add music background
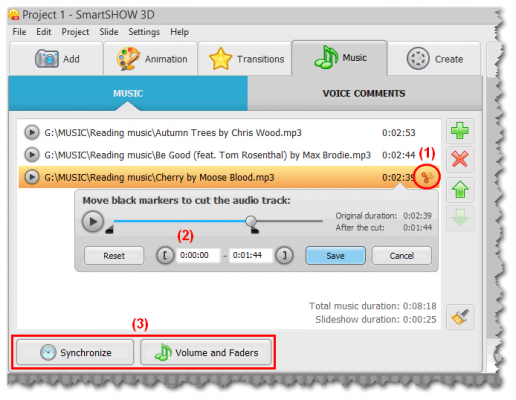
In Music tab, you can either choose multiple songs from your computer or record new sounds for the slideshow. In the list of music, click on scissors icon (1) to edit the audio file (such as cut out unwanted parts) (2). Then, you can optionally use Synchronize and Volume and Faders (3) to adjust the audio files futher.
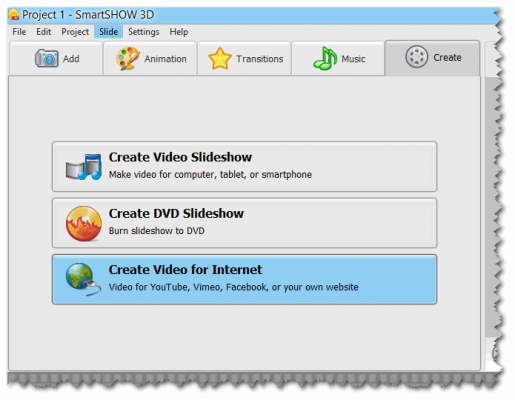
Step 4: Create slideshow for Facebook
When you’re done with all the editing steps, open Create tab >> Create Video for Internet >> choose Facebook and start the process.