Wrap up this year, we are now welcoming a new year 2016 filled with happiness and success. We believe that one of the most important things we need to own to get ready for a new year is a calendar. Precise and eye-catching calendars will give you motivation to catch up with things and complete them positively.
In today’s tutorial, iVoicesoft will show you a cool and easy way to help you create your own personalized calendar for the new year 2016. The only tool you need to equip in your computer is the cool calendar maker – Photo Calendar Creator from AMS Software.
Note: Its costs $49, but iVoicesoft’s readers can get the full featured Photo Calendar Creator at a special discount, only $17.
There are 4 steps to follow:
In this article:
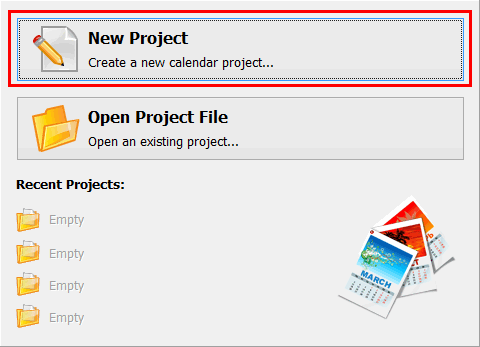
Step 1: Launch your new project
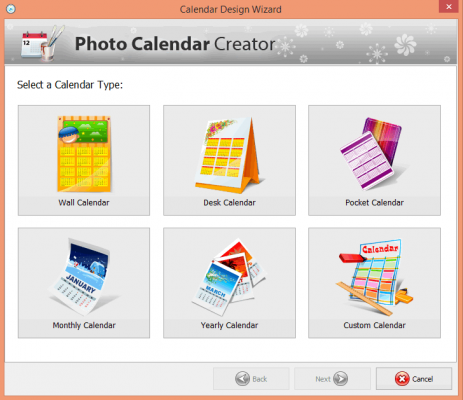
Run the program >> Choose New project >> Pick Calendar type
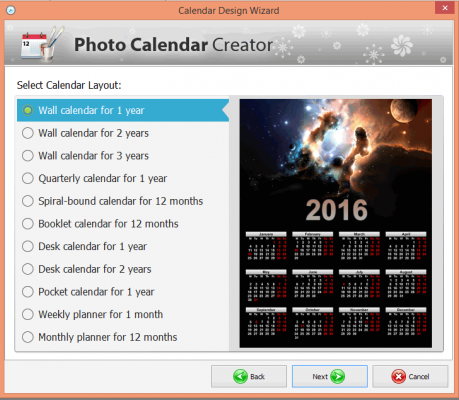
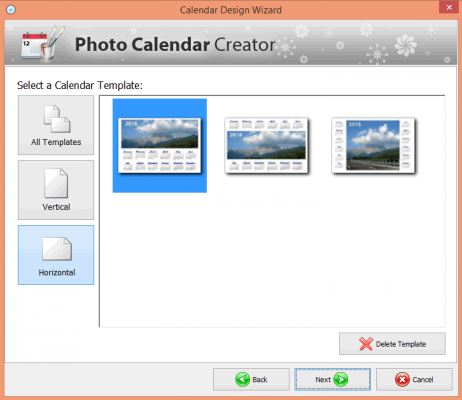
Tick to choose calendar layout you want to create >> Next.
Pick the template you like. Photo Calendar Creator provides users 2 types of template: vertical and horizontal.
Step 2: Customize your calendar with advanced settings
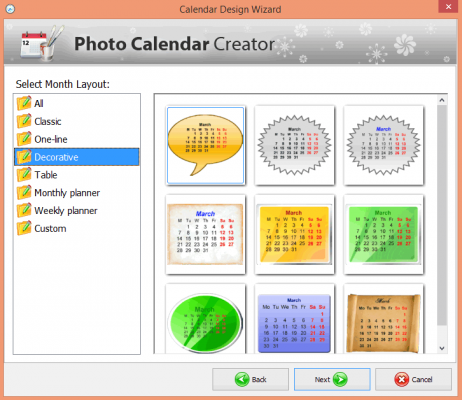
Now, the program leads you to Month layout. You have a wide range of options to pick from this list >> Next.
Click Select photo… button to browse for your favorite image and set it as the calendar background >> Next.

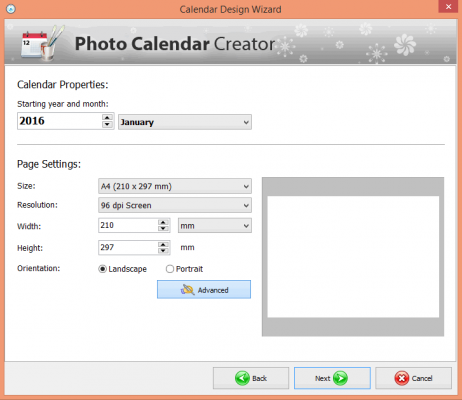
In Calendar properties, you can set the starting time for the calendar. Here, I chose January 2016 as the starting point.
Besides that, you can also modify other advanced settings for the page, such as size, resolution, height, width, and orientation >> Next.
You now will see the below window appears:
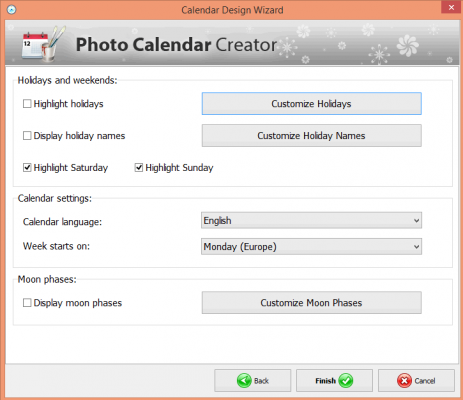
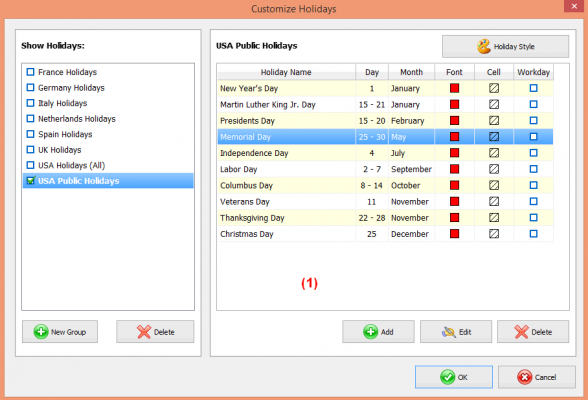
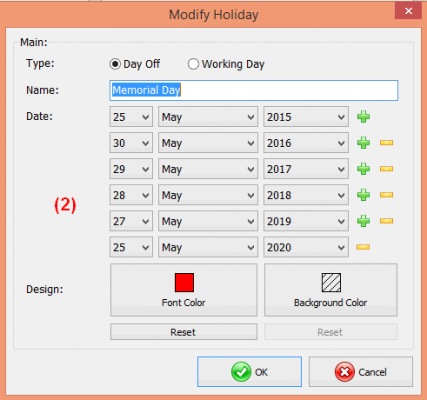
Click Customize Holidays button to open its window (1). Pick the holidays from its built-in list, or click New group to add your new holidays. To change information for Day, Month, Cell, and Font, simply double-click on each holiday (2) >> Finish.
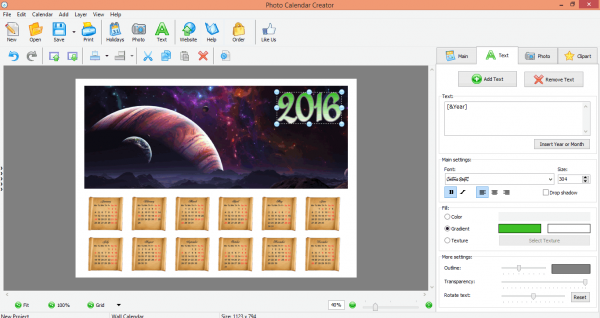
When the full calendar appears, click on the year 2016 to change its font, size, and text as you wish using the tools provided on the right panel.
Tip: At this point, you can simply edit any part of the calendar by clicking on it.
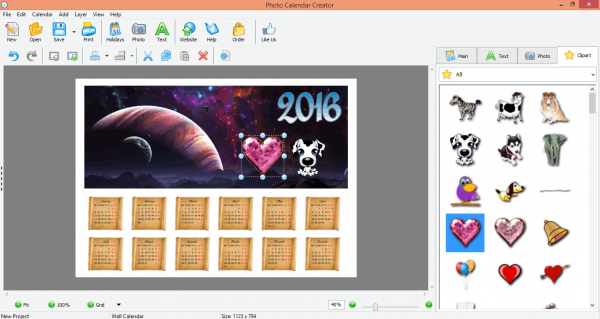
Go to Clipart tab >> Click and drag the clipart you want to decorate your calendar.
To add more text, click Add text (3) or Text (4), and type it in the type box in the right panel (5).

Step 3: Review and save your result
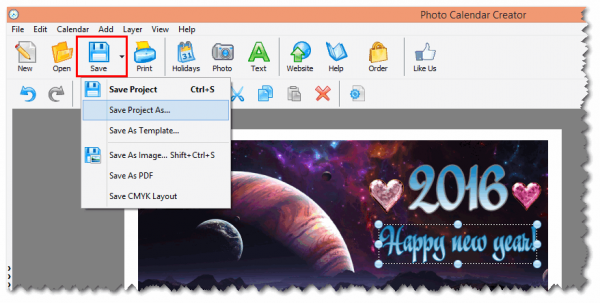
When everything is done, click Save button and choose what type of output you want to save your project as.
For quick guide, everyone can watch the below video clip: