SmartSHOW is a supreme software tool which assists you in creating beautiful photo slideshows in a flash thanks to its professional features and friendly interface. Last time, we guided you cool way to create a romantic slideshow for Valentine’s Day. In this tutorial, we will show you how SmartSHOW does not only create slideshow easily, but also makes your photos magnificent with glowing effects. Here, we’re particularly focusing on creating glowing firework effects for your photo slideshow.
For those who haven’t got the program yet, please buy it.
But Don’t pay SmartShow with full $29. You can buy SmartShow with discount, only $8.70 here (70% OFF)
Let’s get started!
In this article:
Step 1: Create a new slideshow project
Run SmartSHOW >> Click New Project.

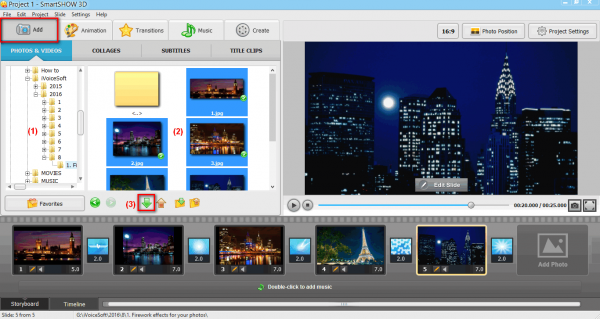
In Add tab >> Photos & Videos >> Browse for the location where your photos are stored (1).
Use the quick keyboard combination Ctrl+A to select all photos, or press Ctrl and click multiple photos as you wish (2). Then, click the green arrow (3) to add them to the slideshow.
Step 2: Apply glowing effects to the slides
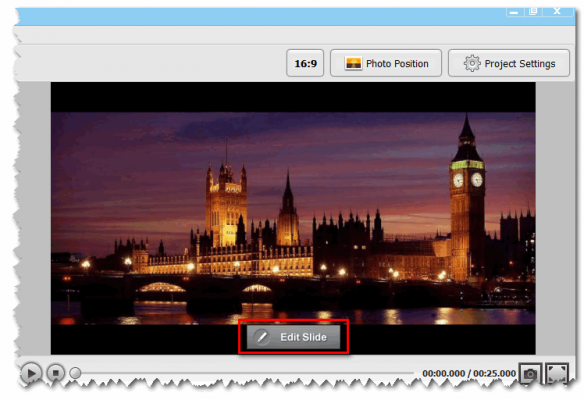
On preview section, click Edit Slide button >> A new window will appear.
Click Slide Effects >> Fire, flicker, glowing text and shapes.
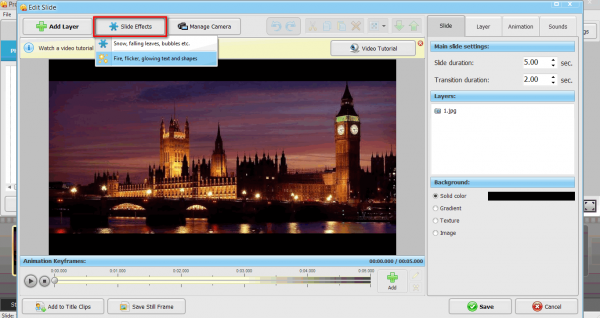
In Glowing Effects Gallery, select the effect you like and click Add to Slide.
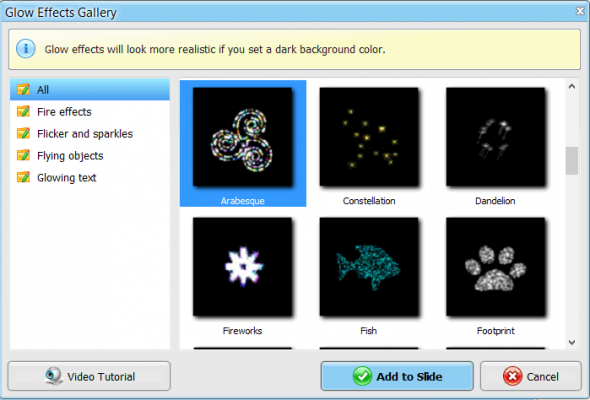
The effect is now present on the photo, you can make it bigger/smaller and simply drag/drop it at desired position.

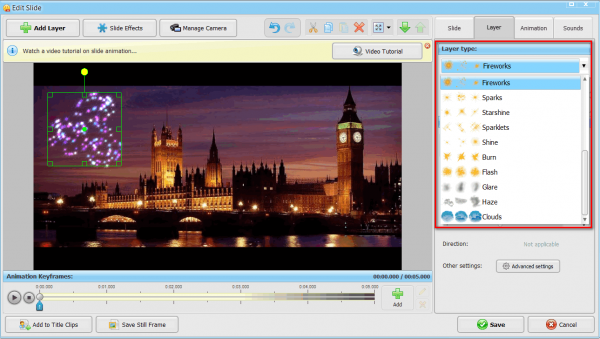
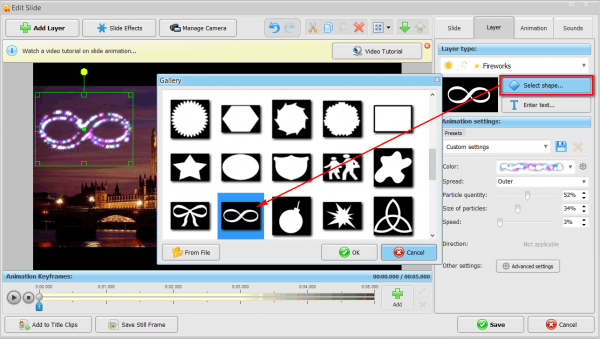
On the right column, there’s a cool effect editor, including Layer Types, Select shape…, Enter text and other animation editors (4).
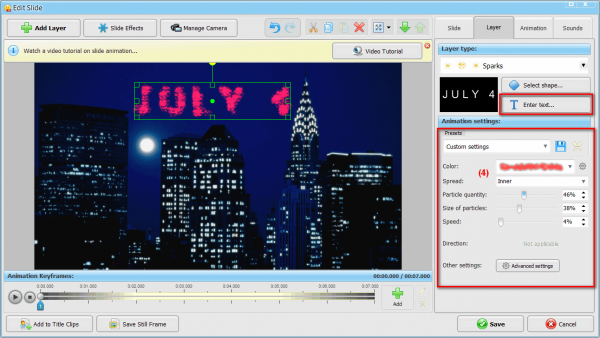
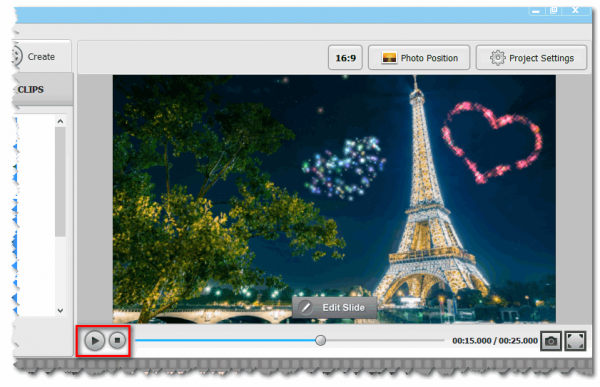
When you’re done, click Save button to return to main panel. Now preview your product by clicking Play/Stop button in preview section.
Step 3: Edit slideshow transitions (Optional)
In the storyboard section of the main panel, you’ll see 2-second transitions (5) between the photos. Click on it to check out how they look on the slideshow.
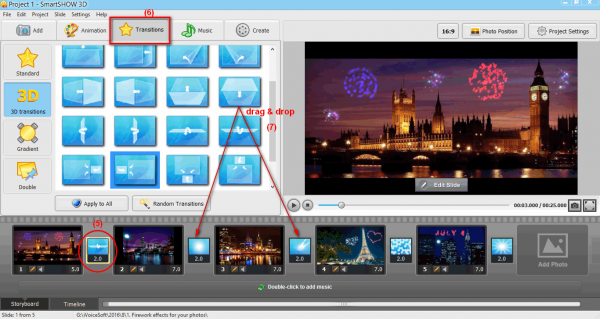
To change transitions, click Transition tab (6) >> drag and drop your favorite ones to transition boxes between the photos (7).
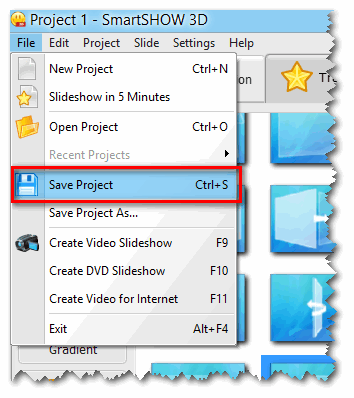
When you’re satisfied with the project, click File >> Save project.
Tips: Don’t pay SmartShow with full price at $29. Because You can buy SmartShow with coupon code, only $8.70 here (70% OFF)