Today’s tutorial will show you an easy way to make your slideshows gorgeous effortlessly using SmartSHOW software program. For more information, you can check out other advanced features of SmartSHOW at below links:
For those who haven’t got the program yet, you can download it quickly at the link below:
Don’t pay SmartShow with full $29.00. You can buy SmartShow with discount coupon, only $8.70 HERE
In this article:
Step 1: Create a new slideshow project
Run SmartSHOW >> Click New Project.

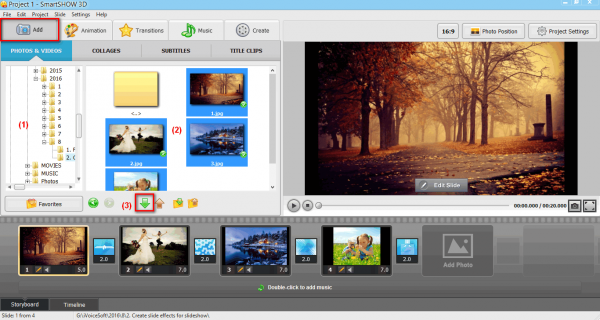
In Add tab >> Photos & Videos >> Browse for the location where your photos are stored (1).
Use the quick keyboard combination Ctrl+A to select all photos, or press Ctrl and click multiple photos as you wish (2). Then, click the green arrow (3) to add them to the slideshow.
>> 4-step tutorial to create professional 3D slideshow
Step 2: Add slideshow animation effects
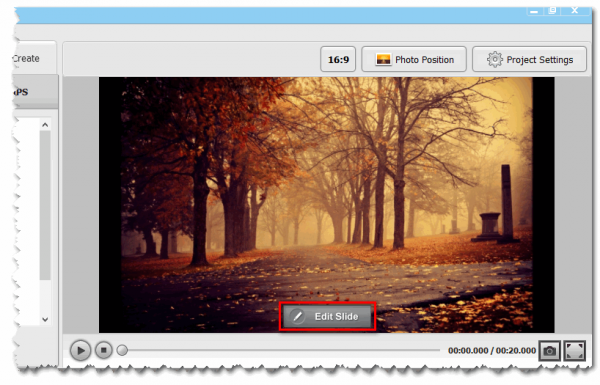
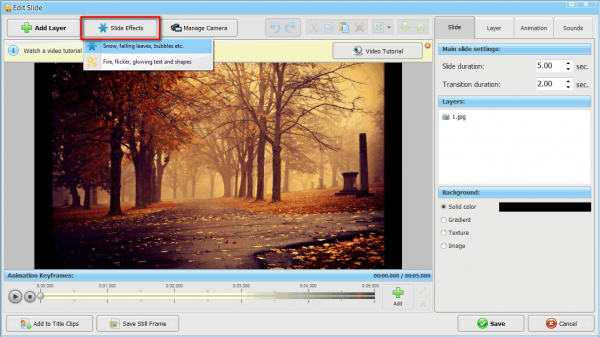
Click Edit Slide button in preview section >> a new window will appear.
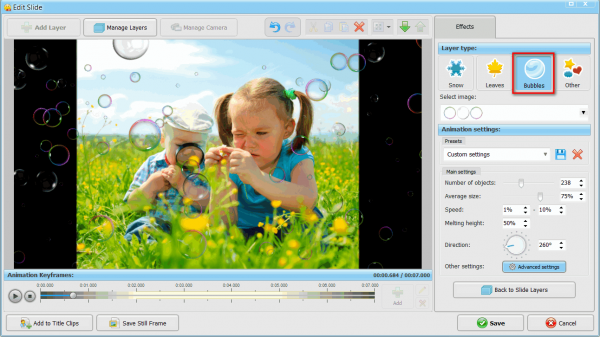
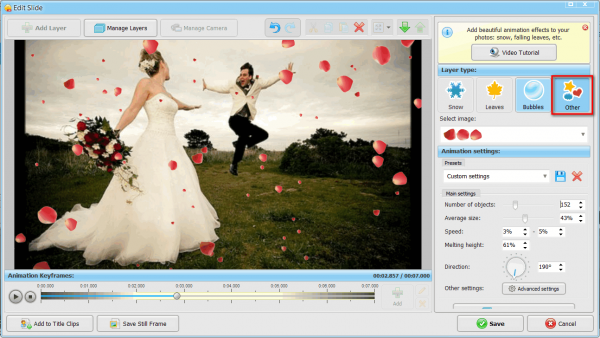
Click Slide Effects >> Snow, falling leaves, bubbles etc.
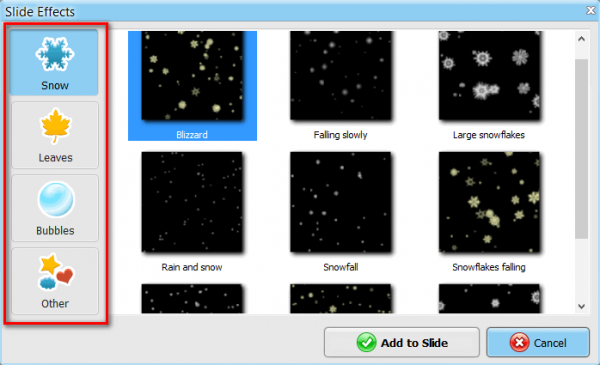
In Slide Effects window, click on the effect type you want (Snow, Leaves, Bubbles, Other) and select your favorite >> Add to Slide.
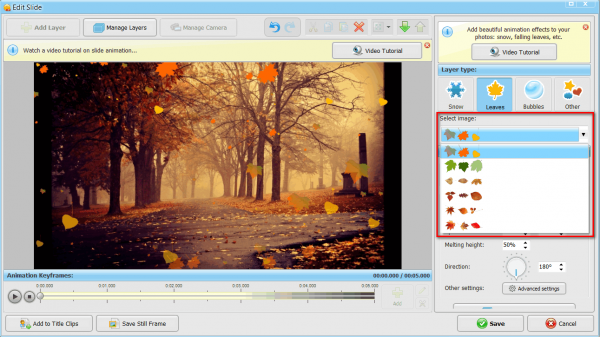
You now can see the effects on the photo. Click Play at the bottom to preview the result. If you want to change how the effect look, expand Select image dropdown list and choose a new one.
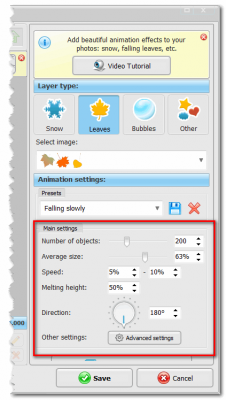
Then freely adjust the number of objects, size, speed, height, direction and other advanced settings on the right control panel >> Save.
Repeat the same step to other photo as well. You can switch to other effects by simply clicking on the buttons at the top-right window.
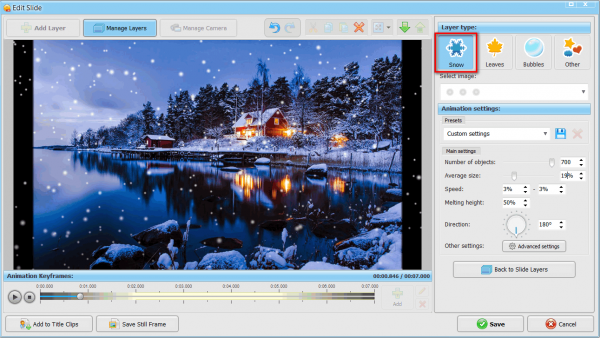
Click Save once you’re done applying effects.
Step 3: Edit slideshow transitions (Optional)
In the storyboard section of the main panel, you’ll see 2-second transitions (4) between the photos. Click on it to check out how they look on the slideshow.
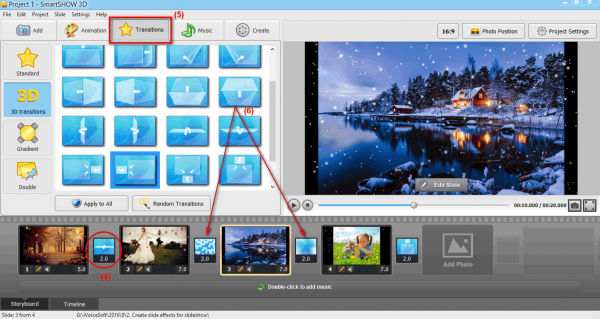
To change transitions, click Transition tab (5) >> drag and drop your favorite ones to transition boxes between the photos (6).
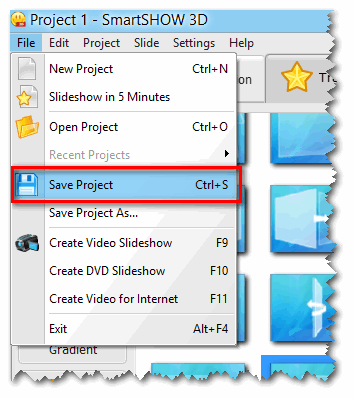
When you’re satisfied with the project, click File >> Save project.